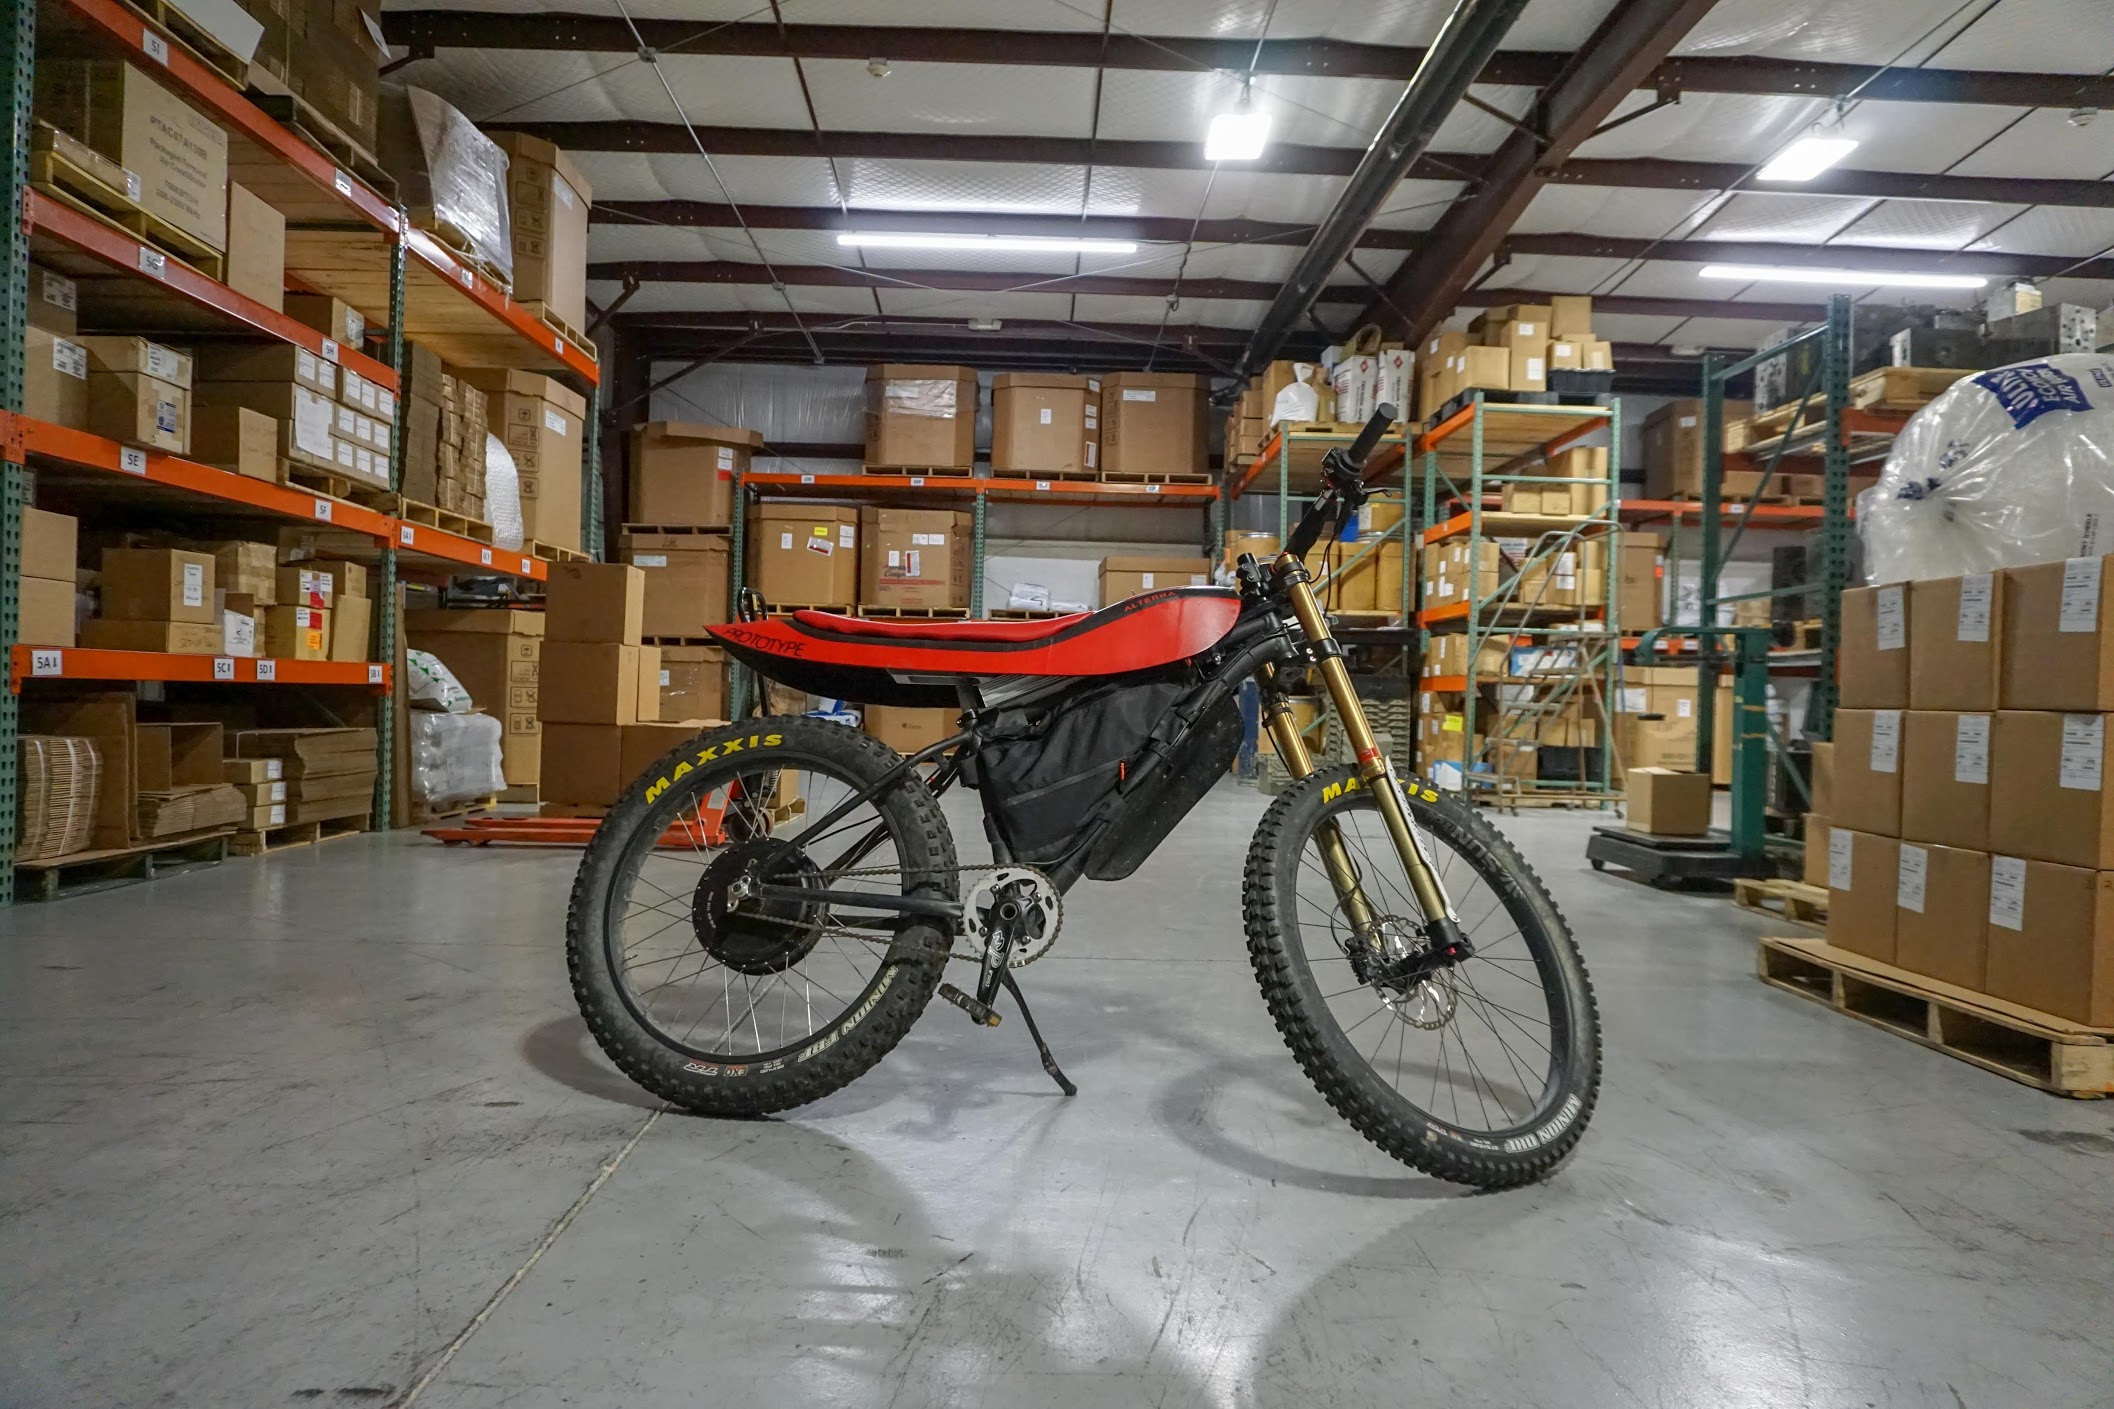
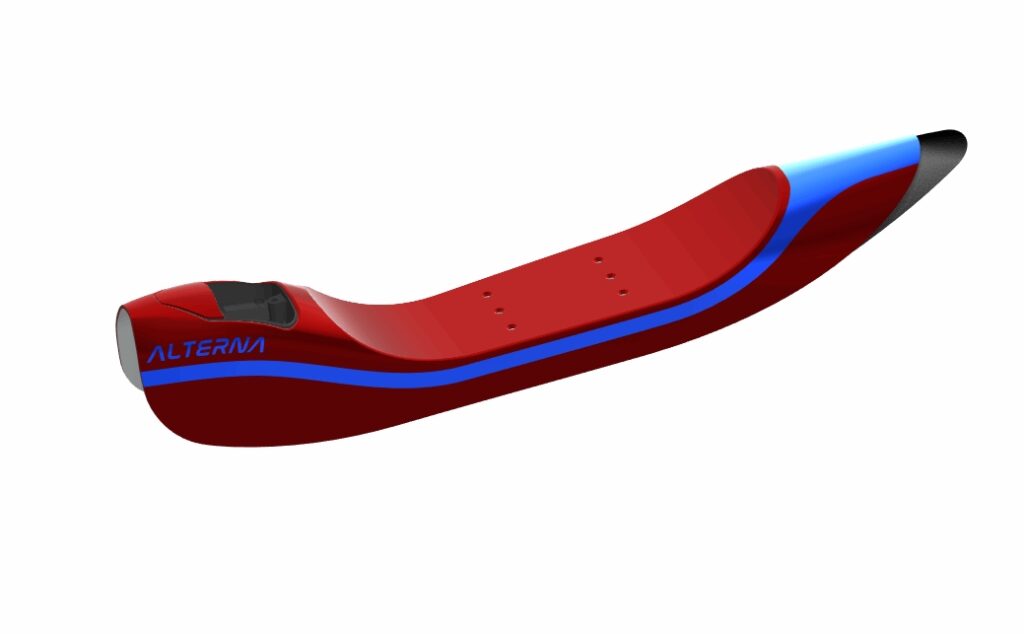
Seat Subframe Construction:
The seat subframe is a composite structure which is created by skinning a 3d printed part with vacuum bagging in a very rudimentary process. This does not create an ultra lightweight composite but it does create a durable structure. There are many other ways to produce a composite part which does the same thing, but often require tooling, or the hand forming of patterns.
The seat subframe consists of 4 parts. These instructions are only for the Subframe itself, the other instructions are linked below.
- Composite/3d printed subframe. (You are here)
- Head tube/Top tube mount.
- Seatpost mount.
- Seat Pan and Seat Foam
Warning!!!
The instructions below are revised based upon mistakes I made. Some pictures show some things being done wrong. Live and learn, but my instructions are more accurate than the pictures. Even so check youtube and the internet for best practices when it comes to composites. If you have an advanced knowledge of composites the below will be tedious and redundant and other processes listed in the notes at the bottom will be better suited for you.
Seat Subframe Composite Structure Steps-
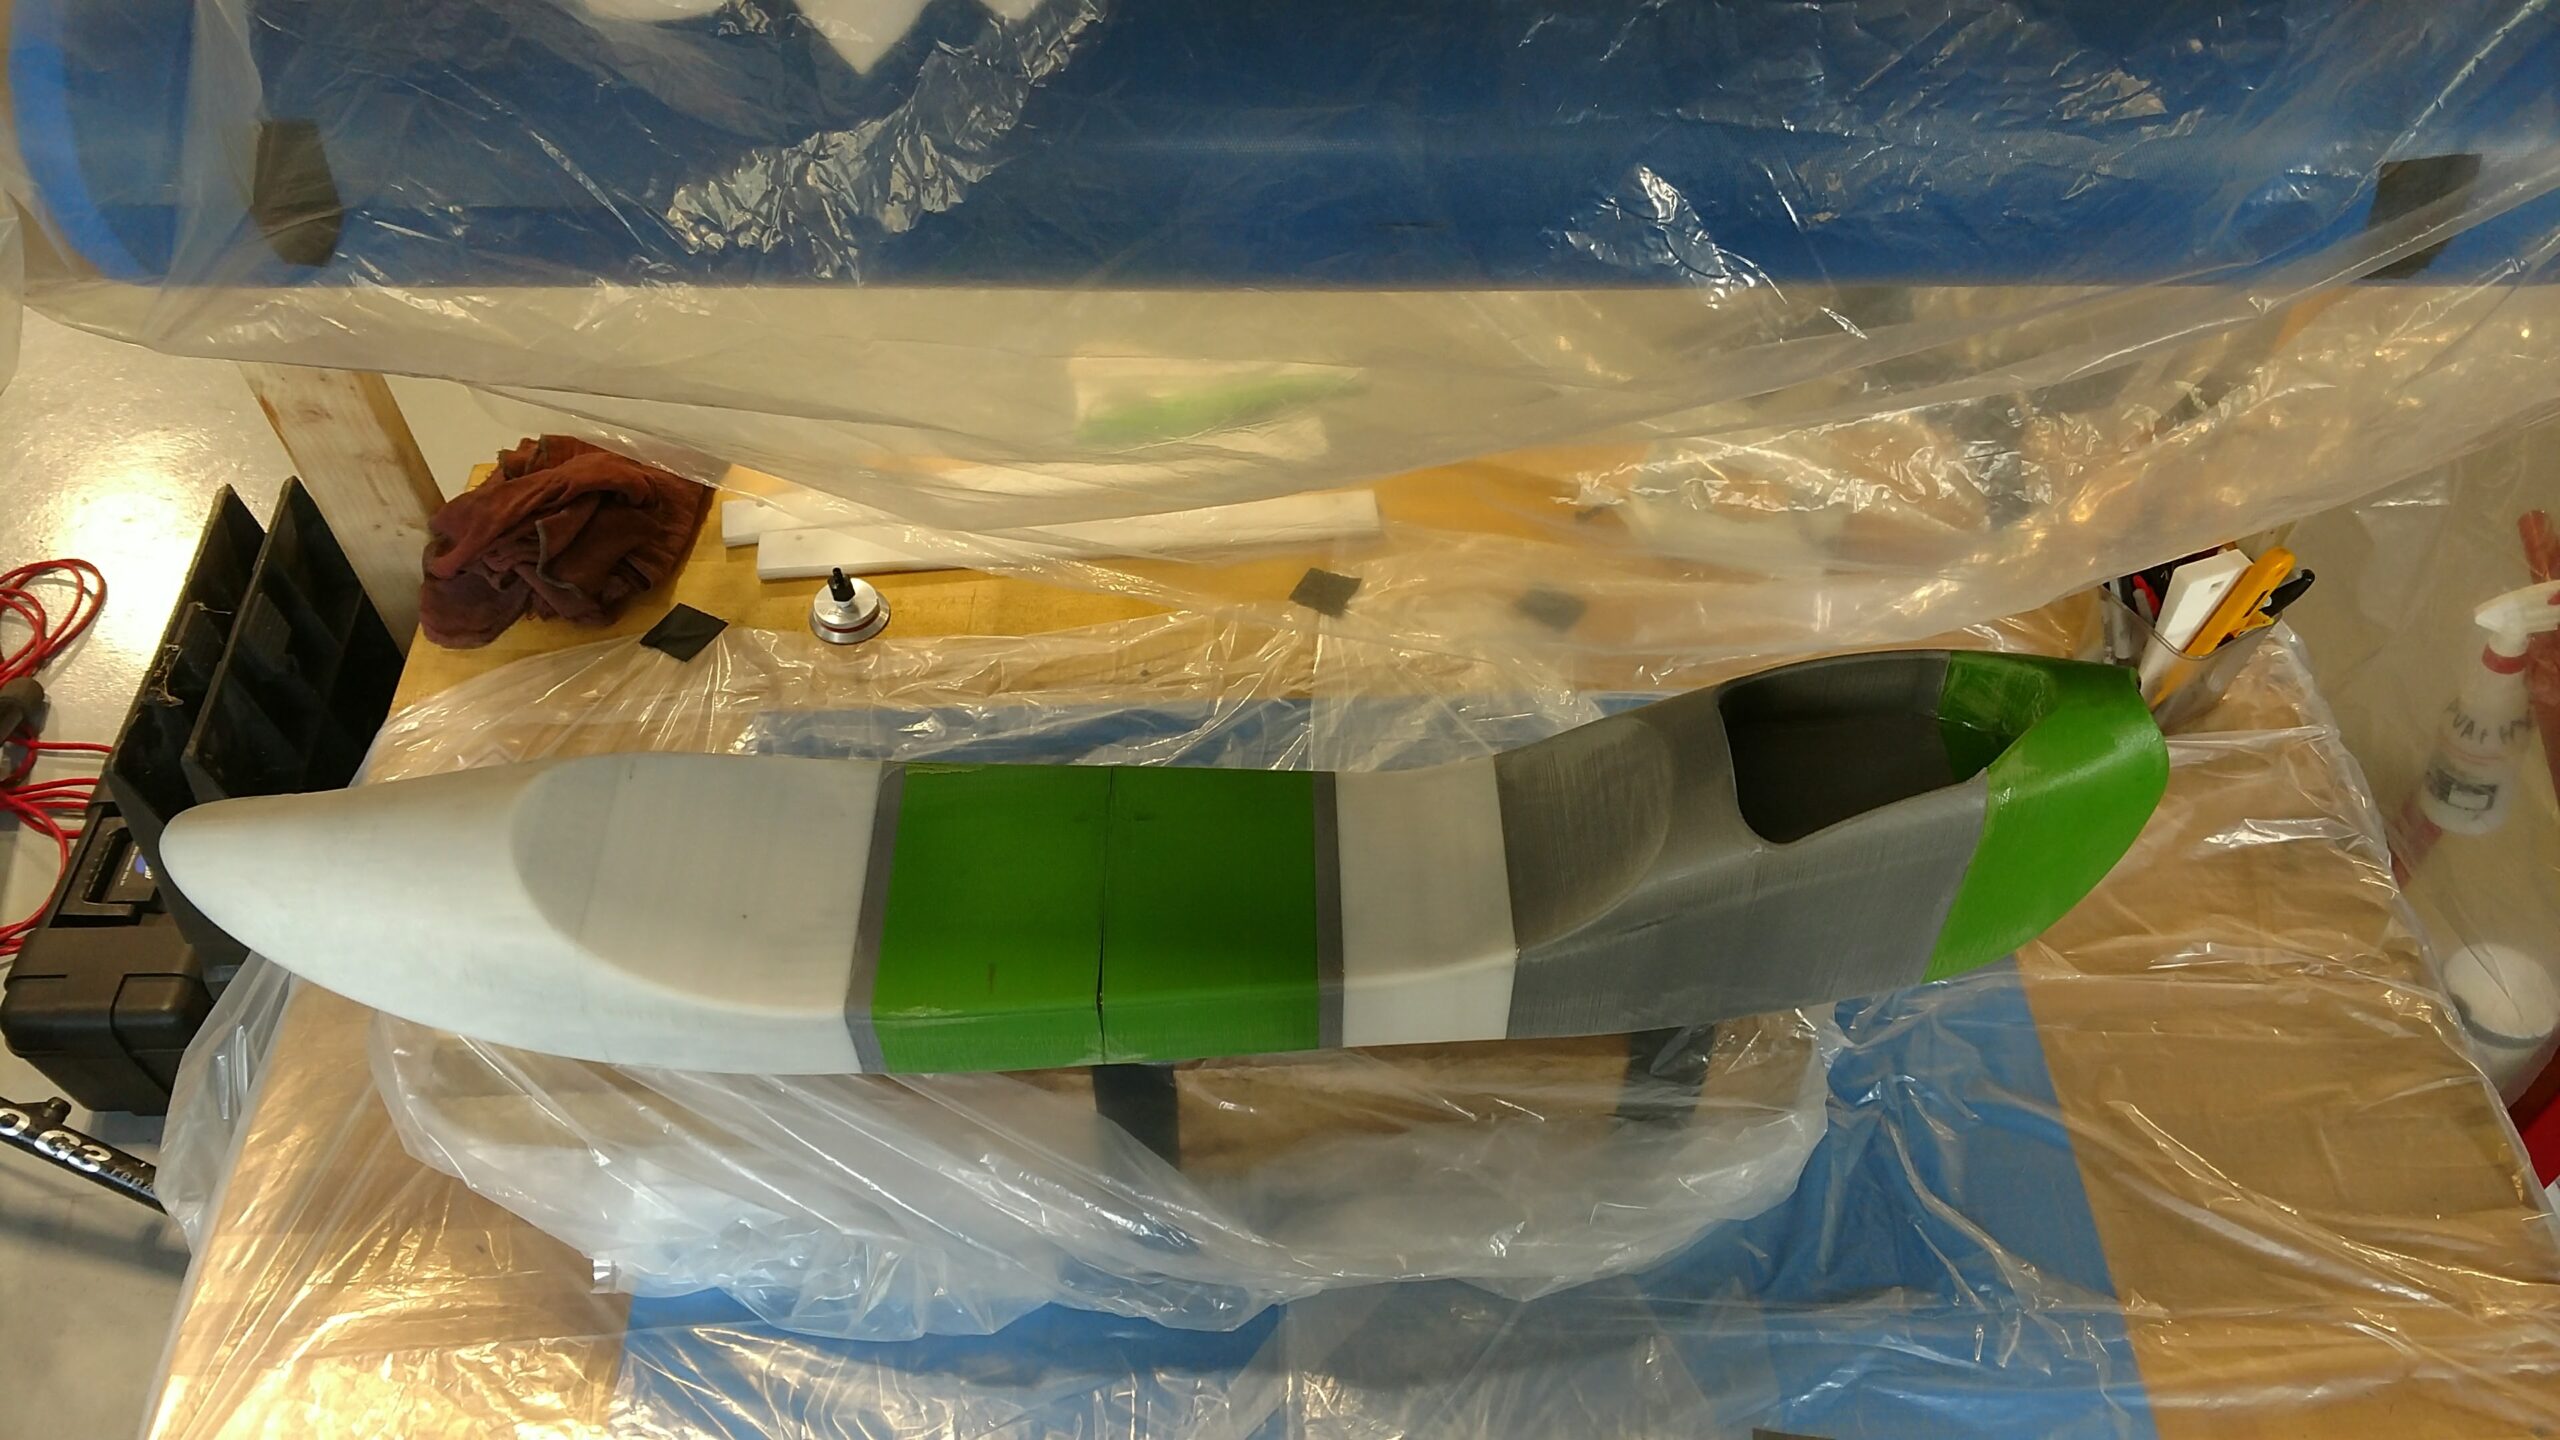
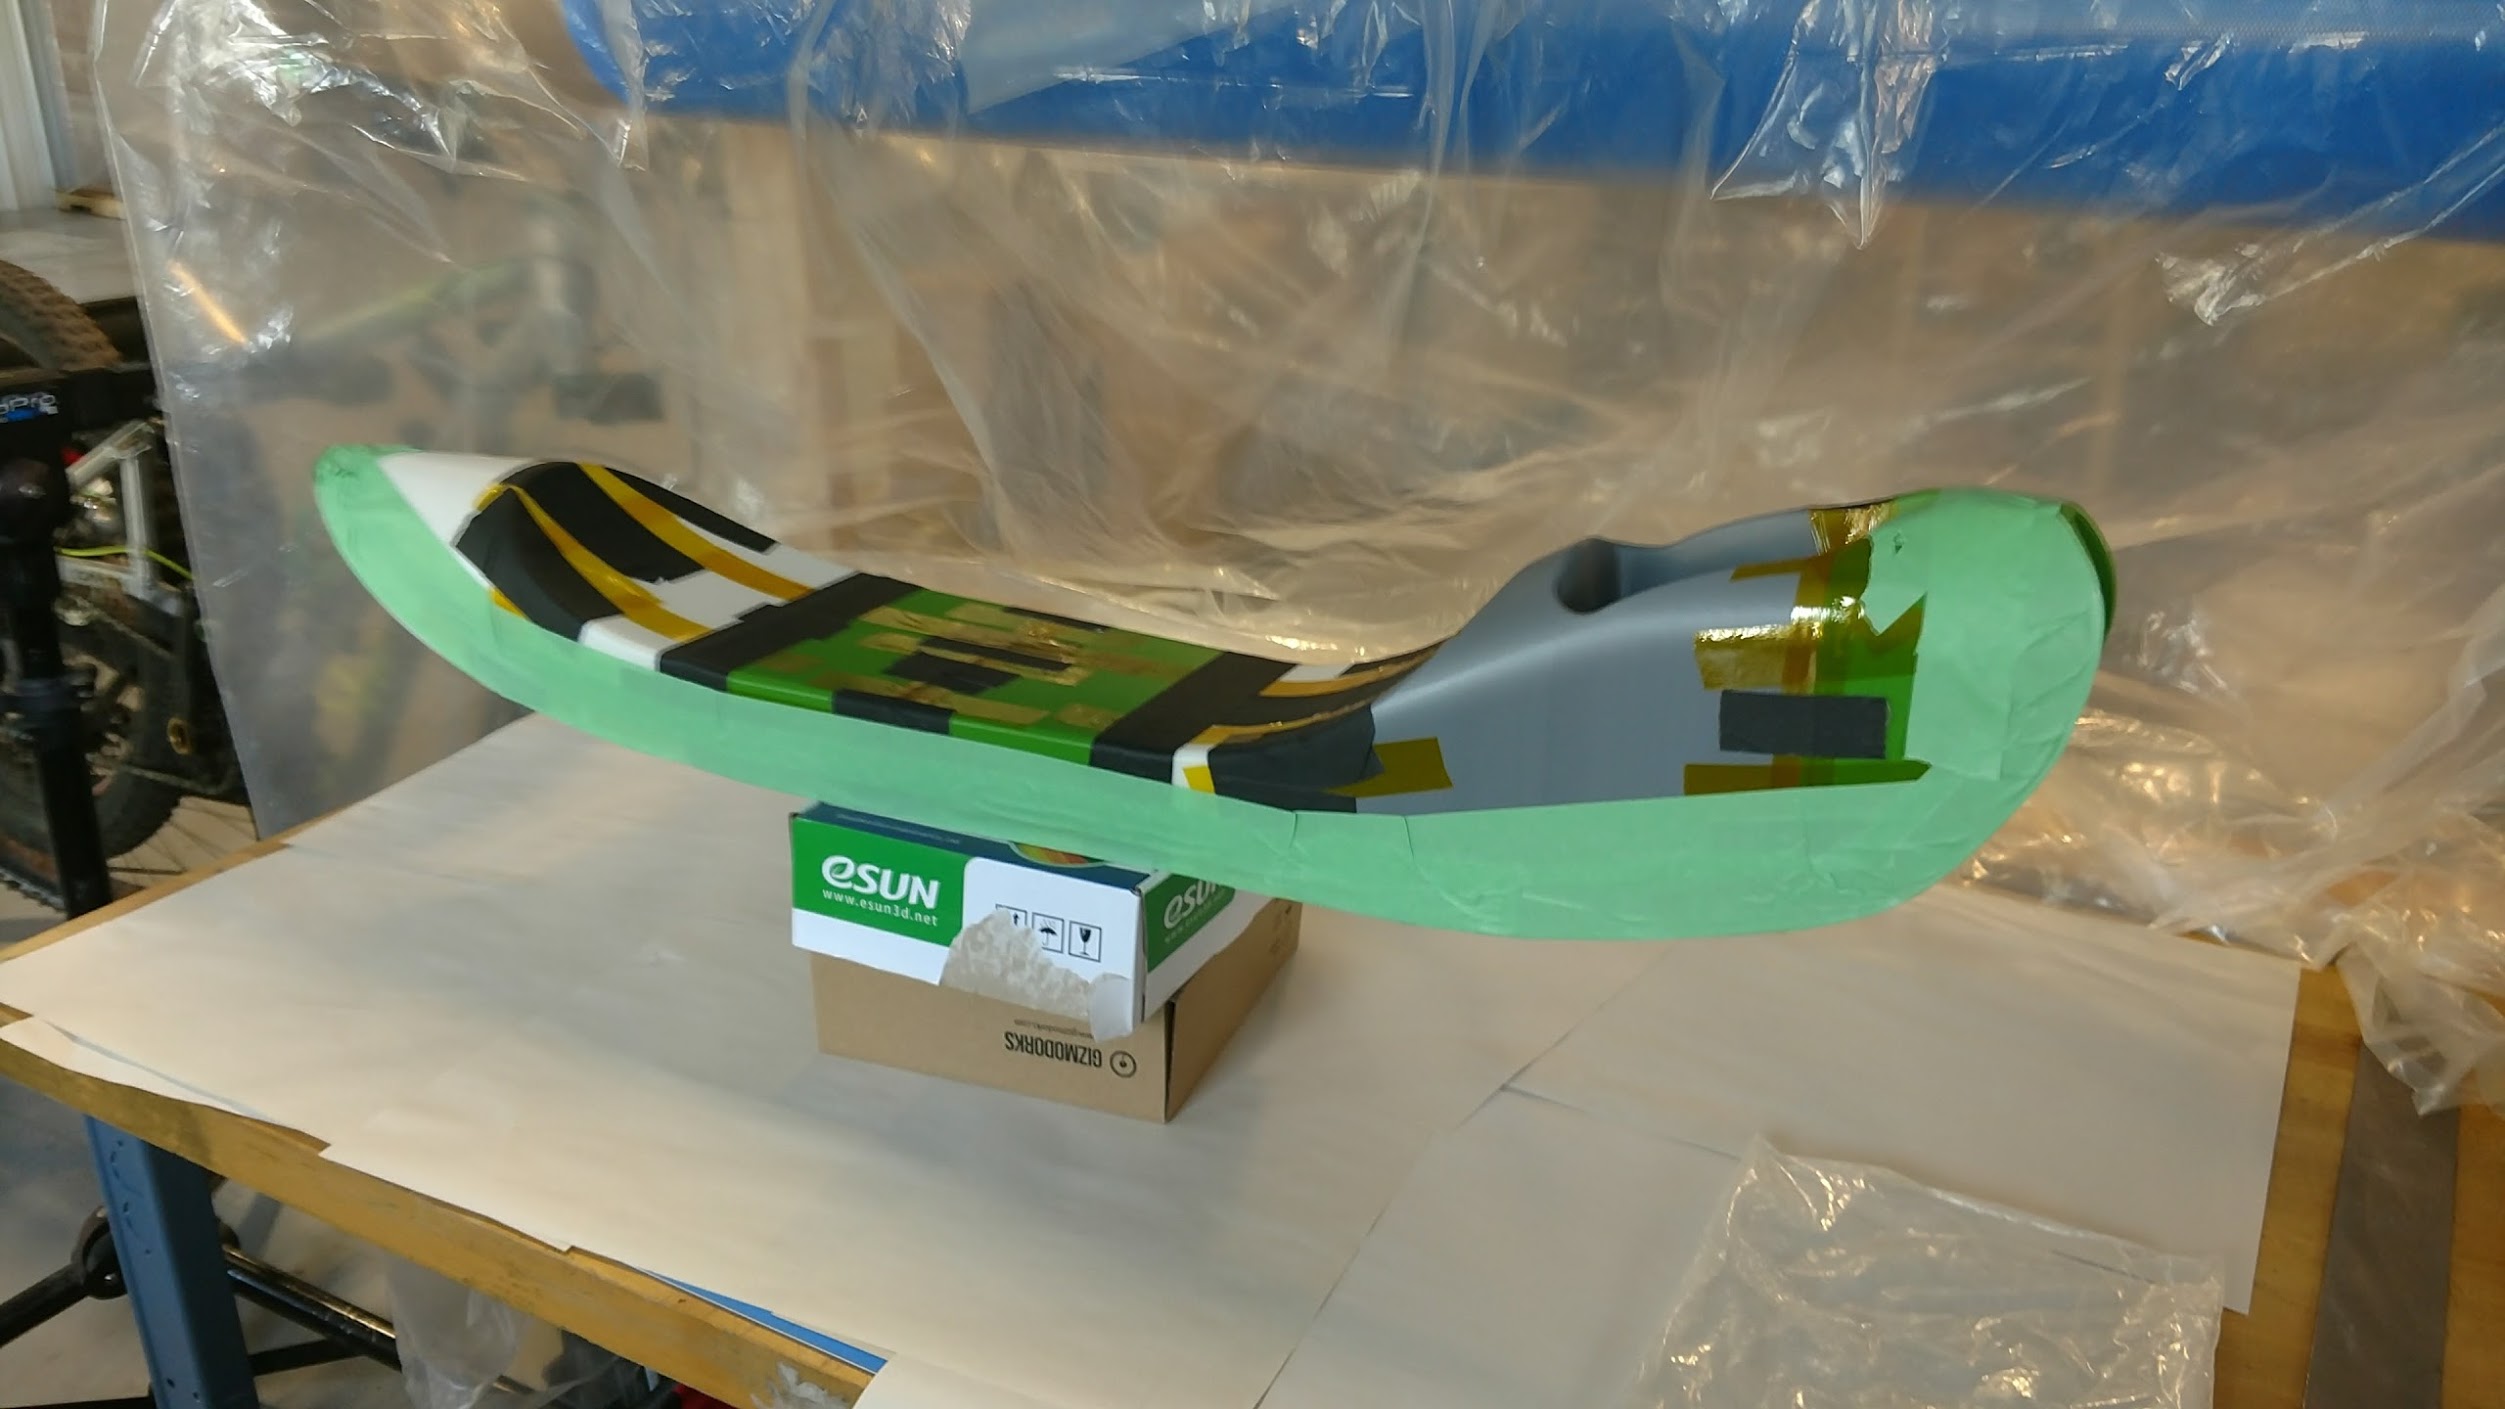
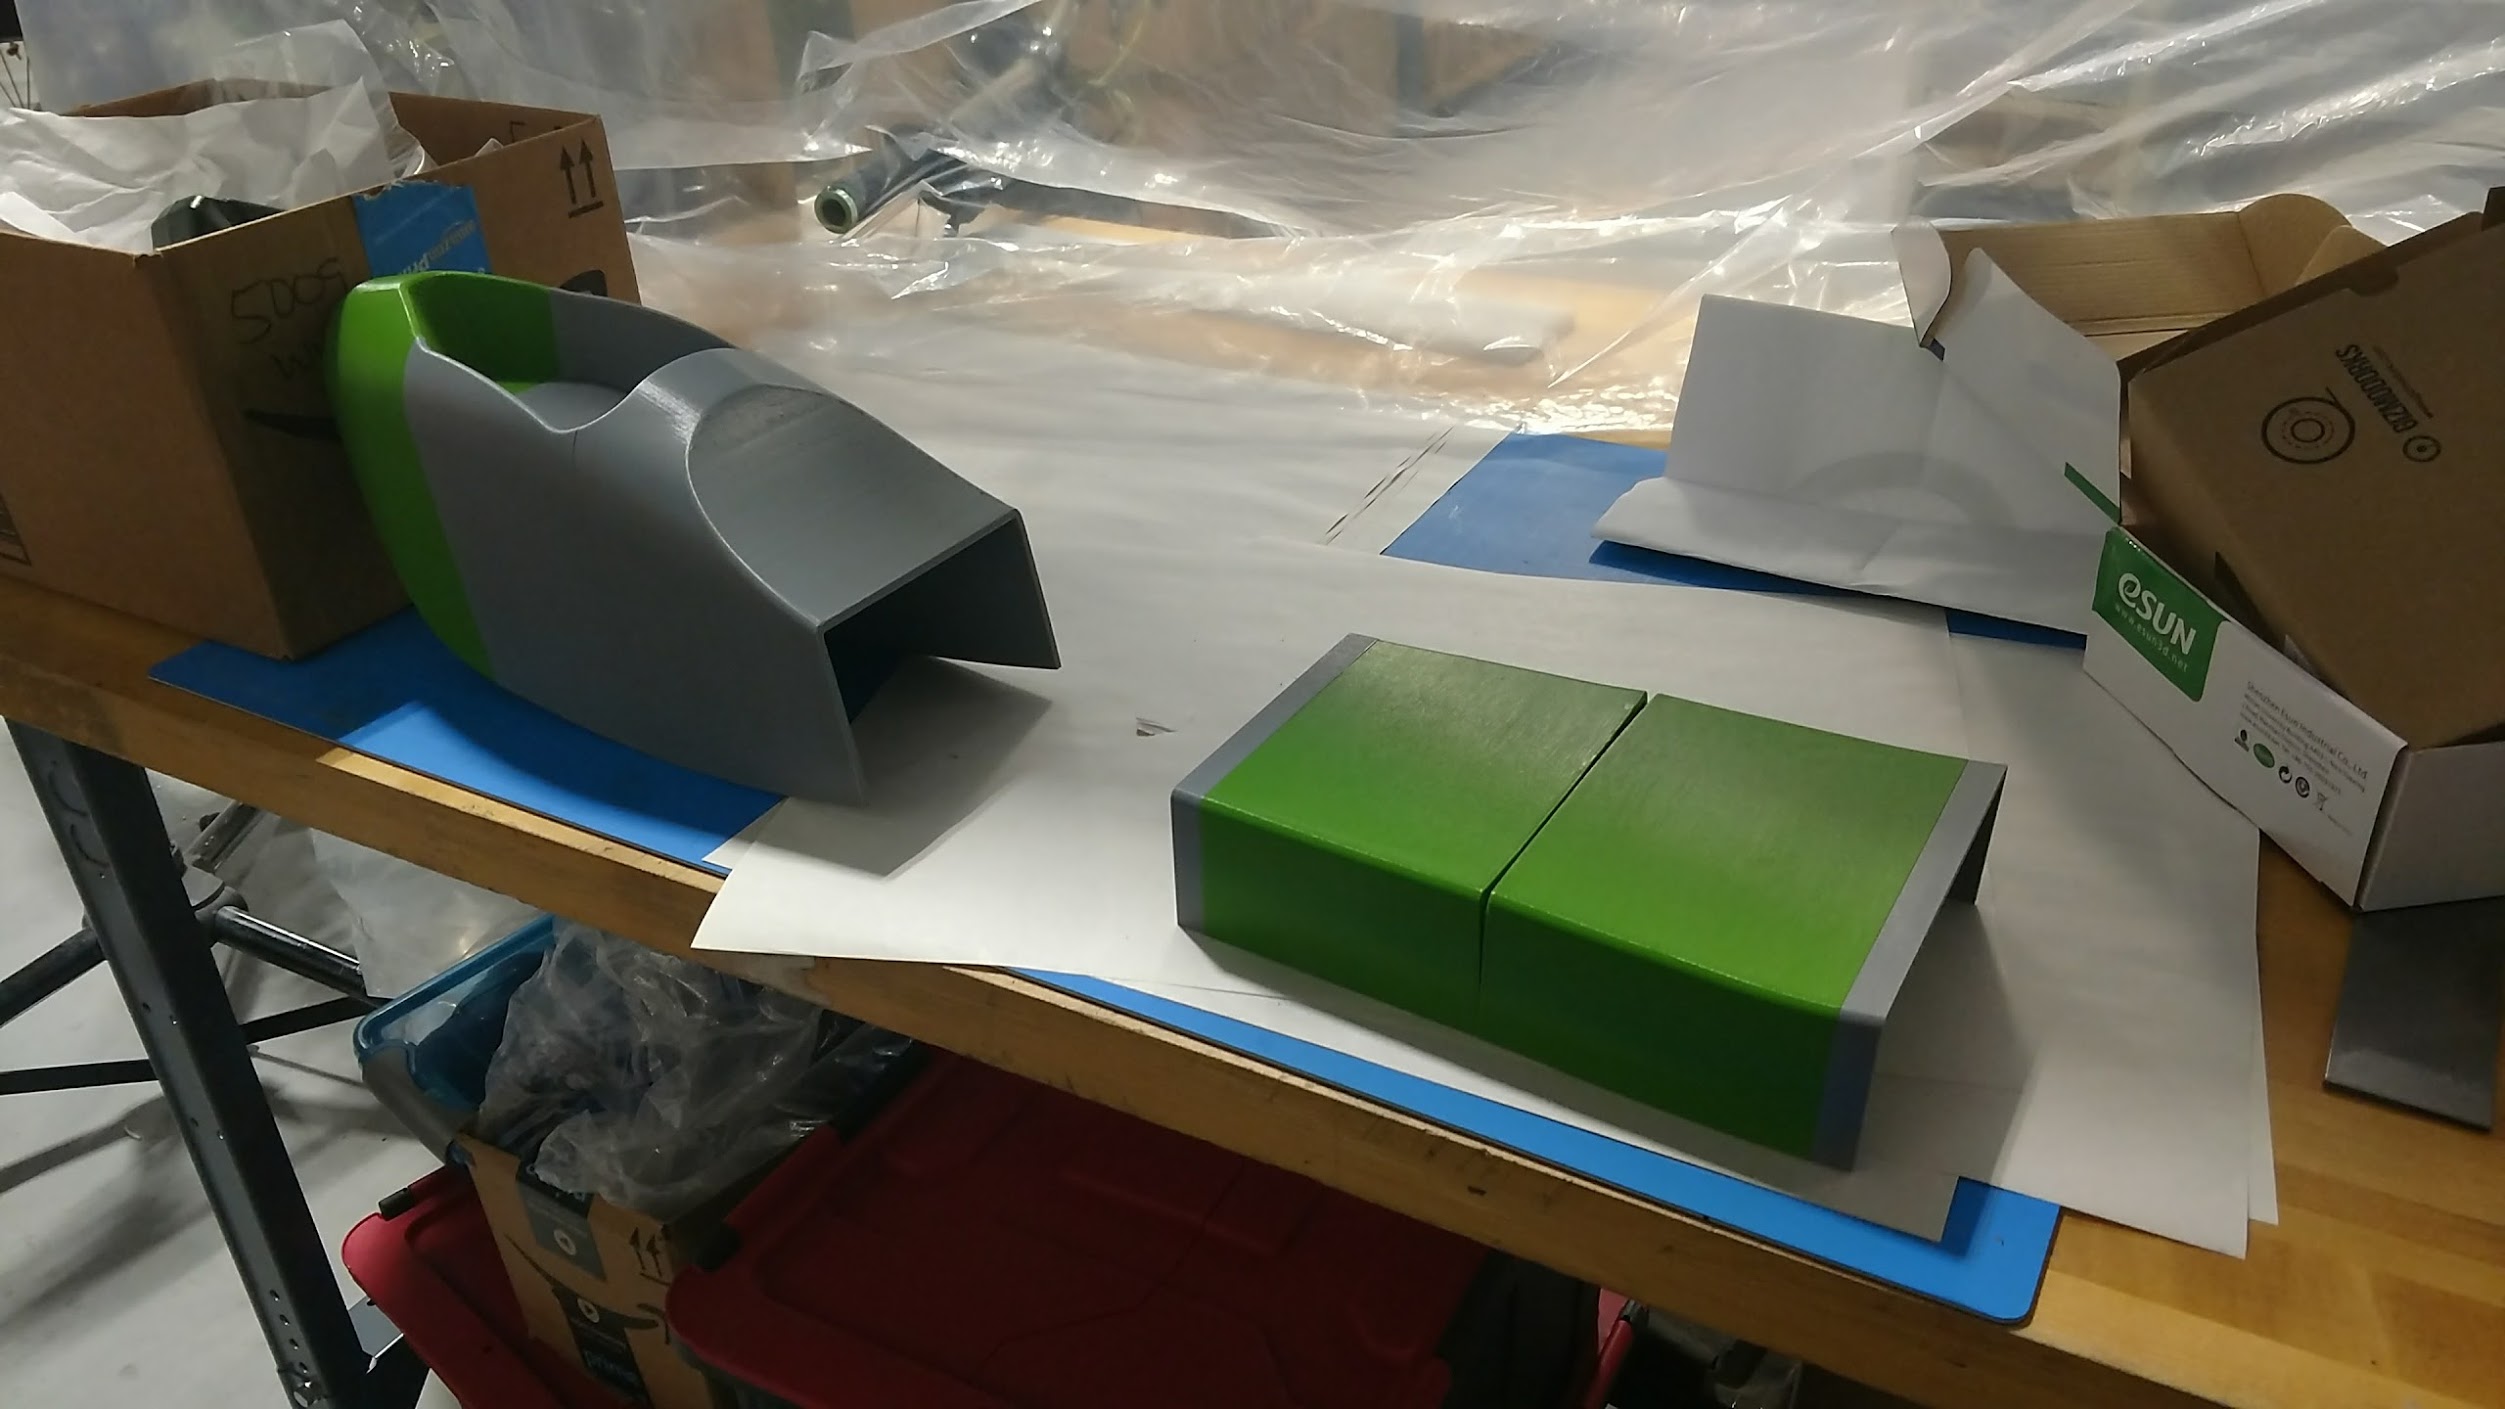
Making the core…
- Split the 3d model into sections which are capable of being printed on your printer. Section the part as though you were printing it standing on its tail vertically. Print with sparse infill, between 5-10%. We want a part fairly porous part capable of wicking some epoxy during the vacuum bagging. Do not print in nylon.
- Bond sections together with superglue or 5 minute epoxy. Be careful to keep parts aligned while gluing. I kept everything aligned by using tape.
- Once the entire structure is printed and bonded together start sanding the part. You want a dull finish.
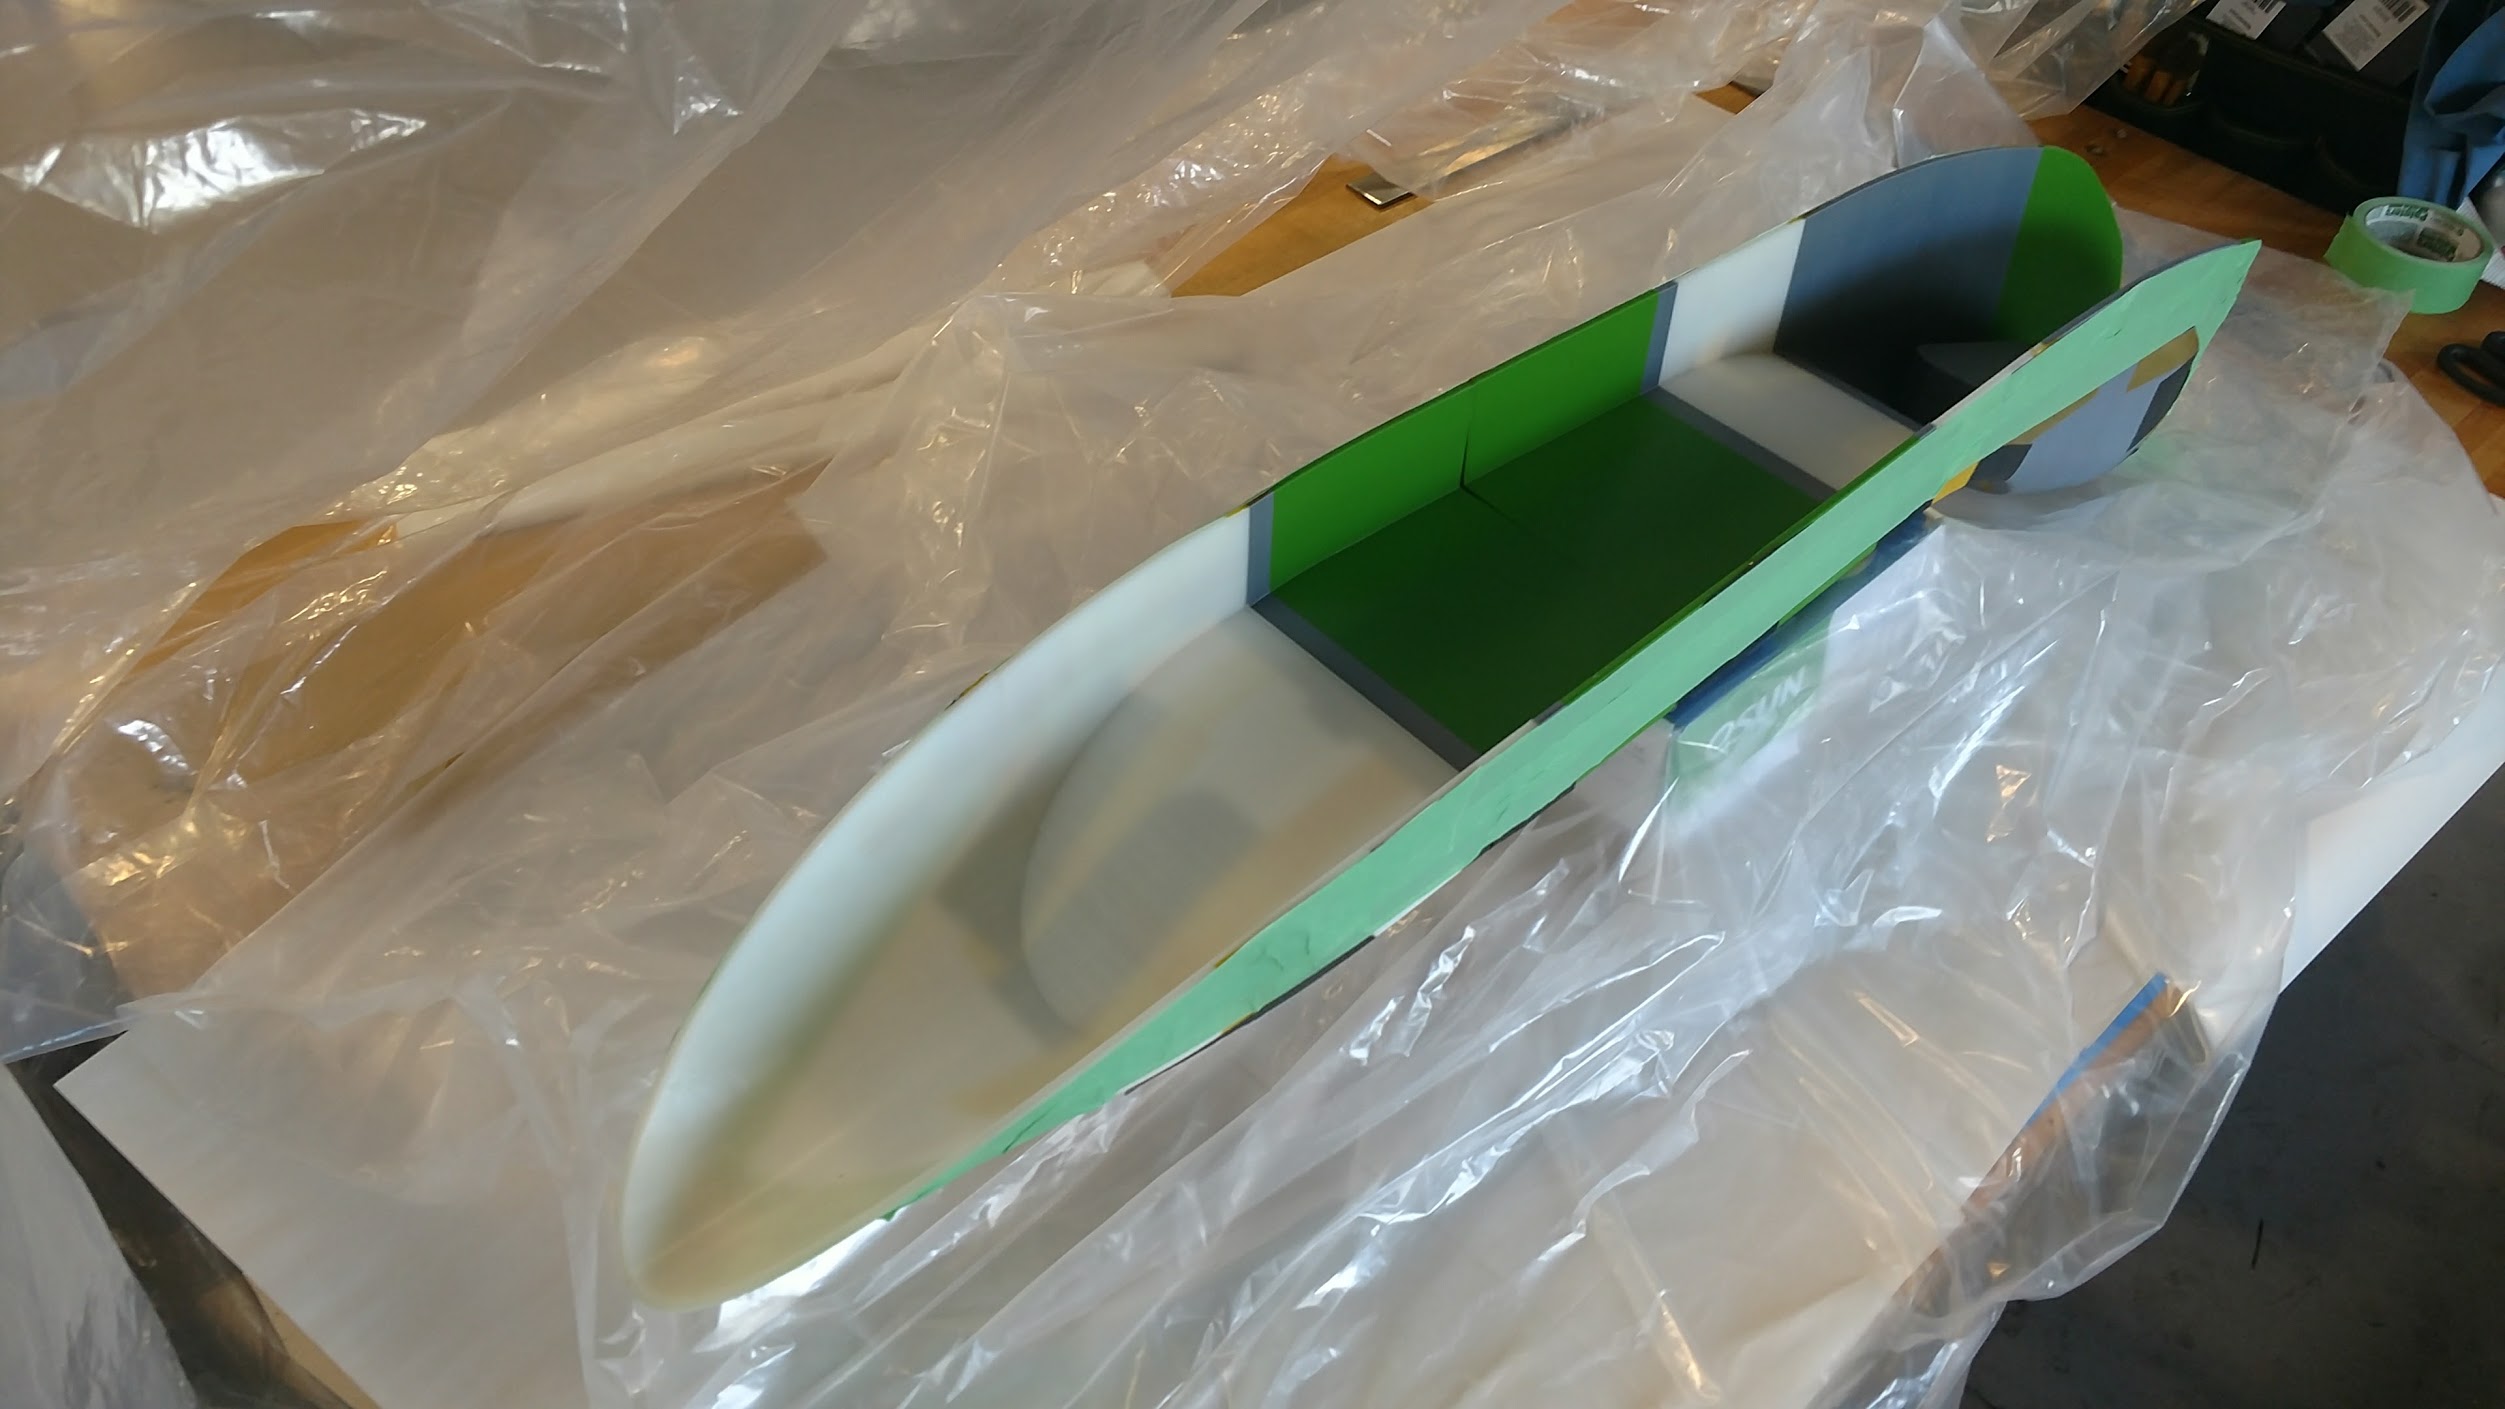
Preparing the fabric…
- Cut a length of composite fabric long enough to cover the part with the fabric on a 45 degree angle. There can be overhangs, and it may require more than one piece of fabric.
- Lay the fabric into the bottom of the seat subframe and mark out cut a hole where the subframe has a recess for the key/wiring and mounting.
- Repeat the above steps but rotate the fabric in 45 degrees in the opposite direction.
- Remember this is the bottom of the part, it is ok if fabric doesn’t look perfect.
Preparing the bagging….
- Lay your bagging material below the part on a table and cut the bagging film with 24in in to spare on either end(this is for pleating). Cut a second part the same length.
- Line the edges of the bagging film with tacky tape making pleat marks every 4-6in about the height of the part. Leave one side of film on the tacky tape to not expose it.
- Remove the tacky tape film on one ‘short end’ of the bagging film, and place the second piece of bagging film onto the tacky tape carefully. You may want to slowly peel the film off the tacky tape as you align the second bagging film.
- Repeat the process following the pleats up and down for both sides, but do not close the bag at the end, this is where we insert the part before curing the epoxy under vacuum pressure.
- Lay this bag carefully to the side while preparing the part for bagging.
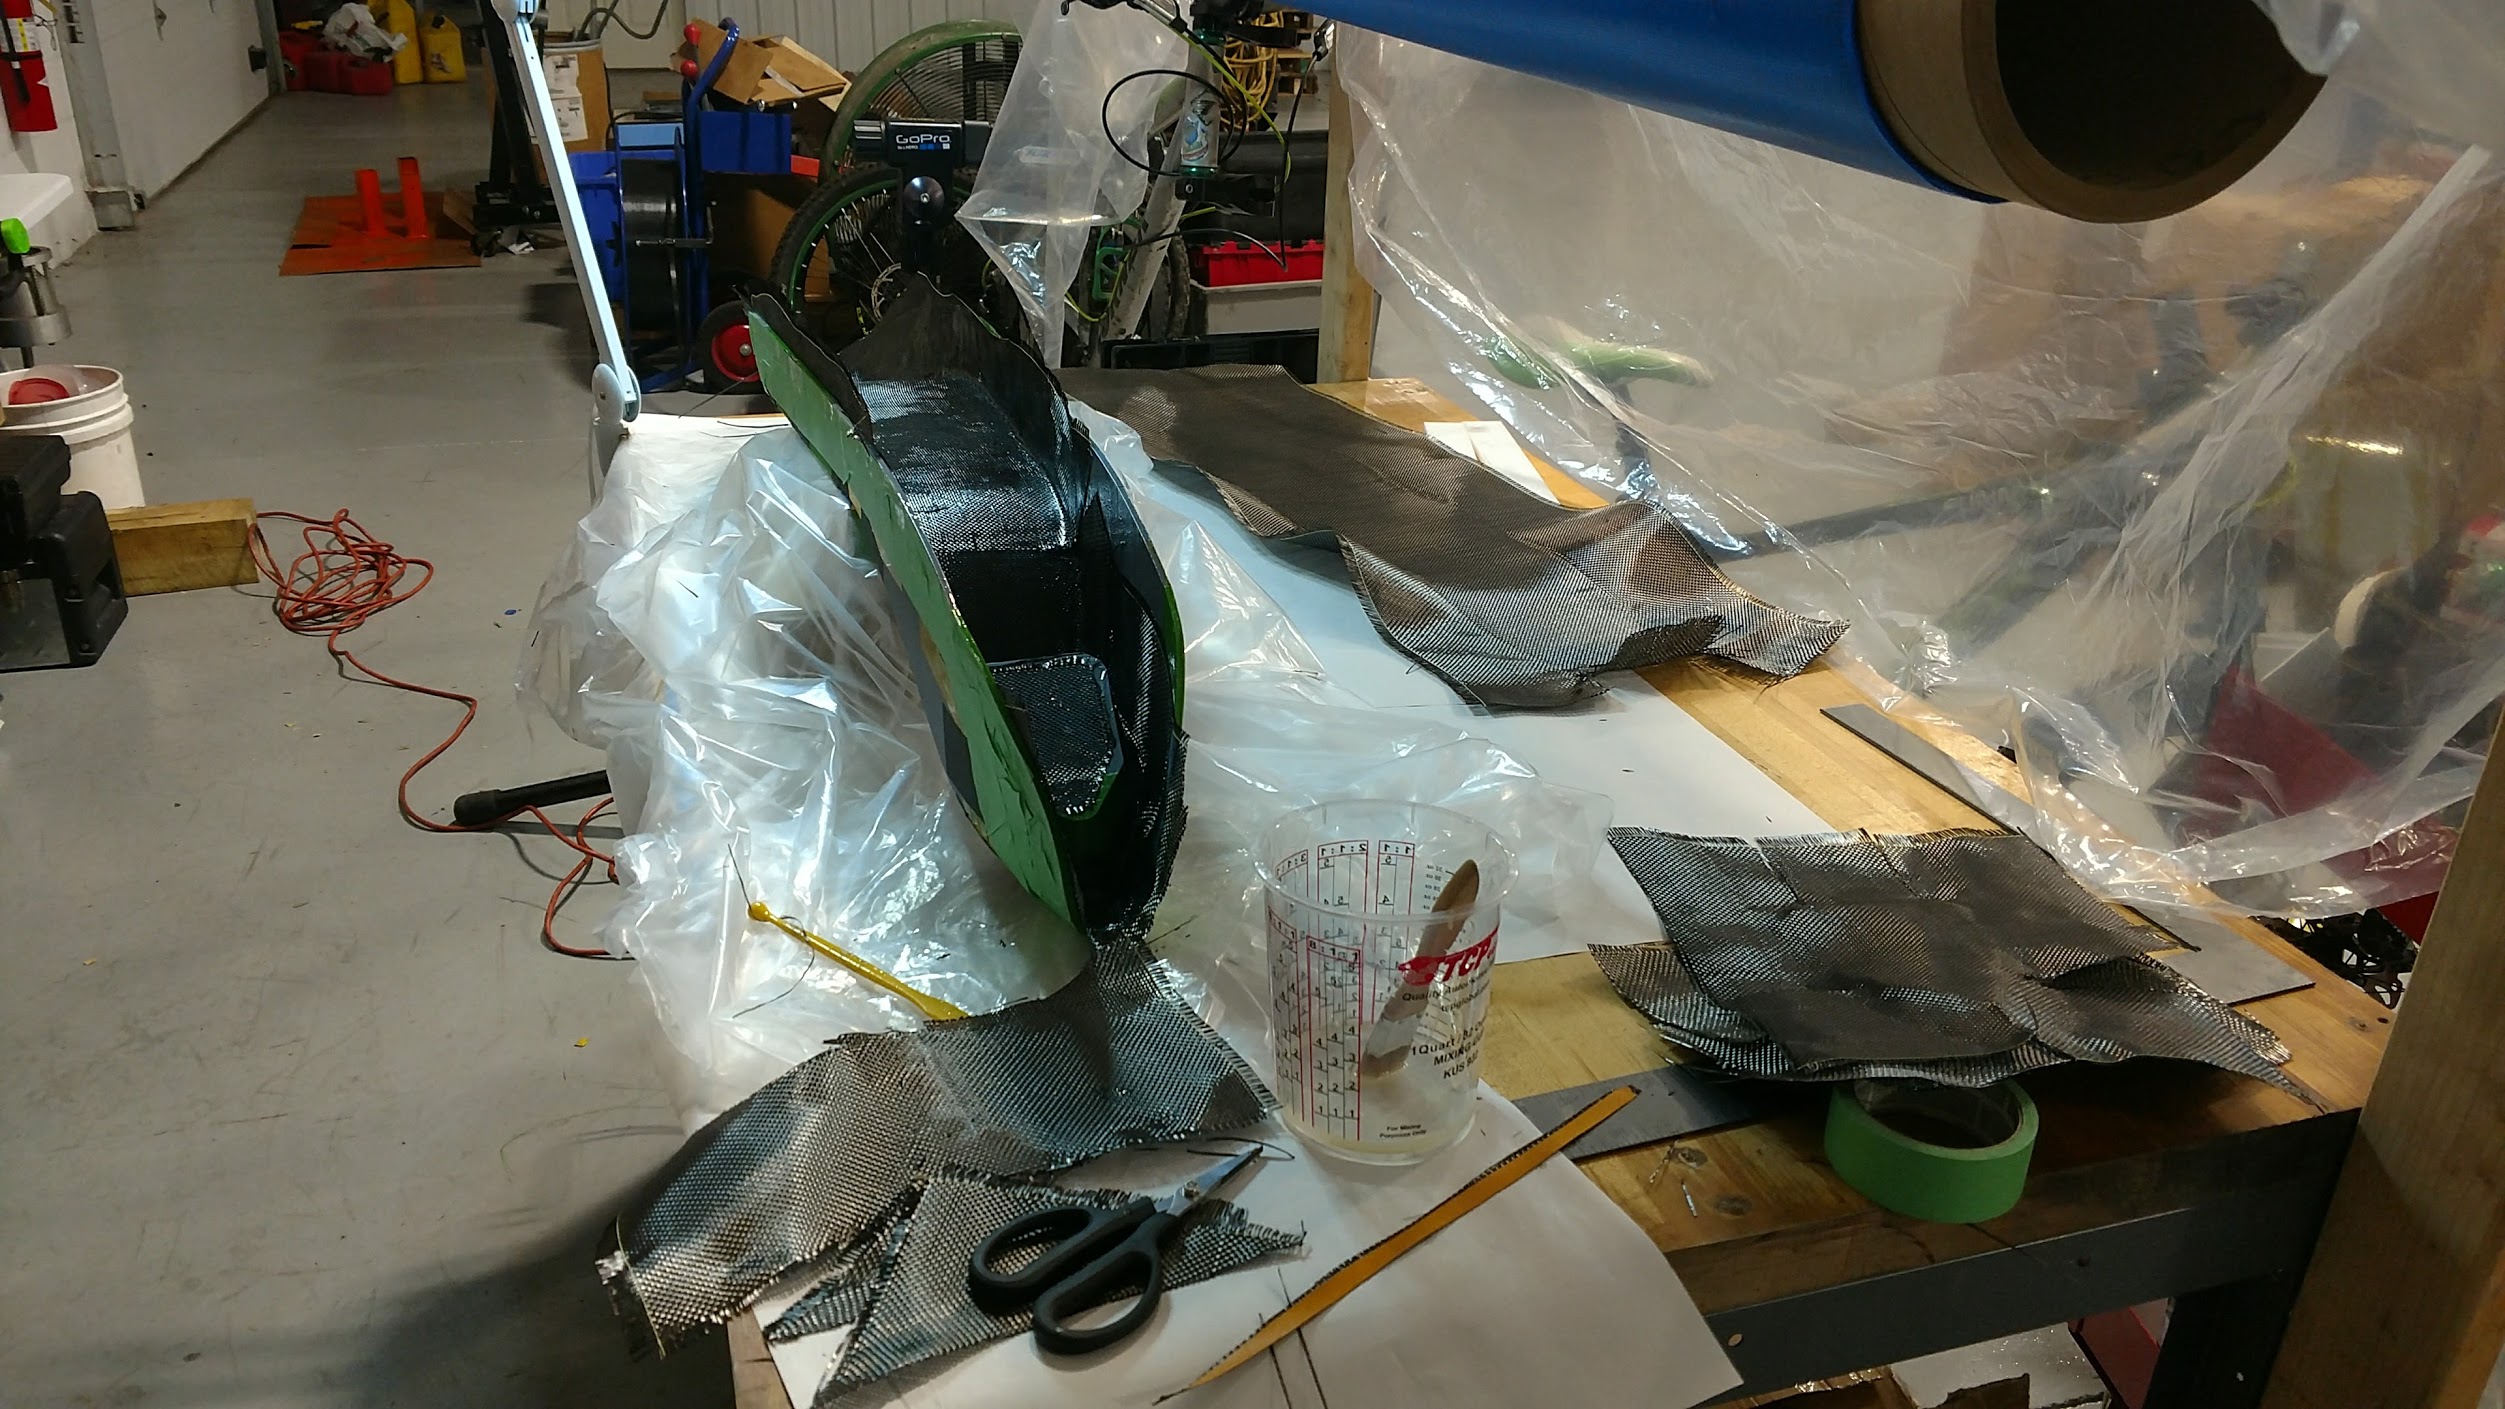
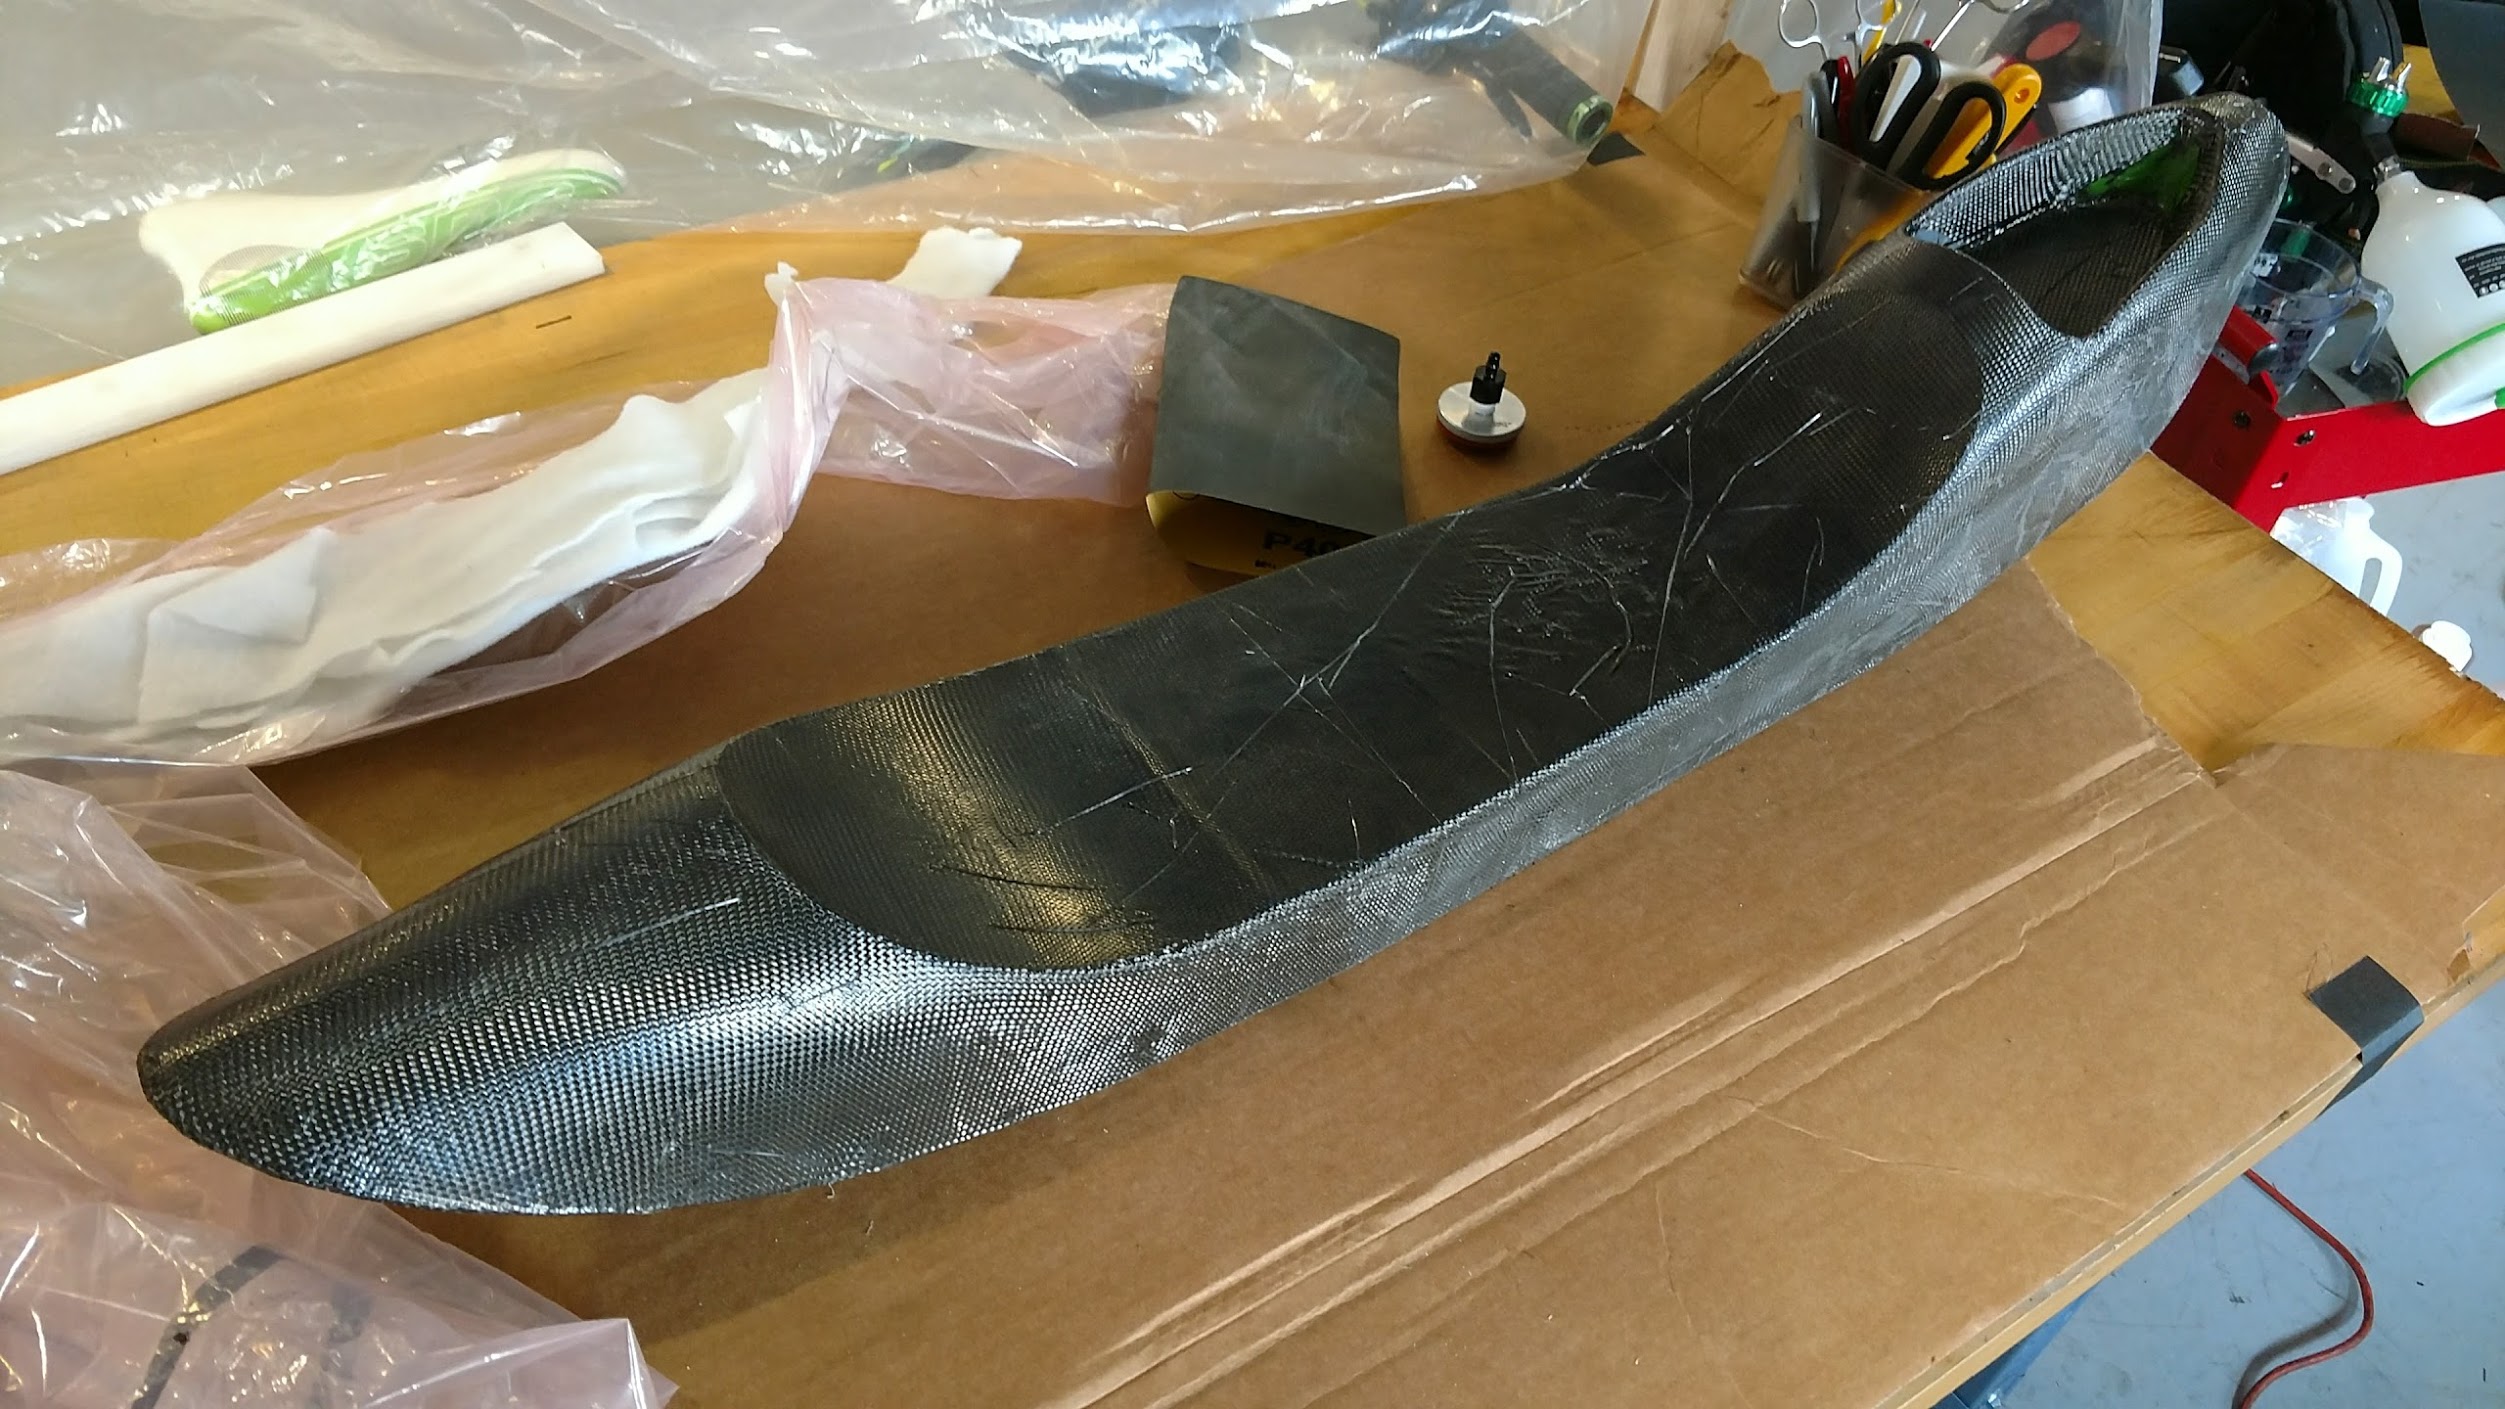
Applying composites to the subframe and bagging…
- Lay your part upside down so you can see the bottom of the part, it helps to stand the part on something like mixing containers.
- Mix the epoxy and degass it with a vacuum chamber(don’t degass forever, eventually you will be evaporating the solvents required for the epoxy to work properly). It will be very thin.
- Paint a layer of epoxy onto the part. The epoxy will want to run down the edges of the part. This is fine. This is a thin epoxy that is very slow curing.
- Let the epoxy sit, it will continue to pool, occasionally draw up the pooling epoxy with a brush onto the interior vertical walls of the part. Do this until the epoxy doesn’t want to be brushed. It will start feeling tacky. There will be excess resin, there should be, under pressure it will flow.
- Wait until the epoxy is tacky enough to touch without any it depositing anything visible on your gloved finger. Kind of like tape.
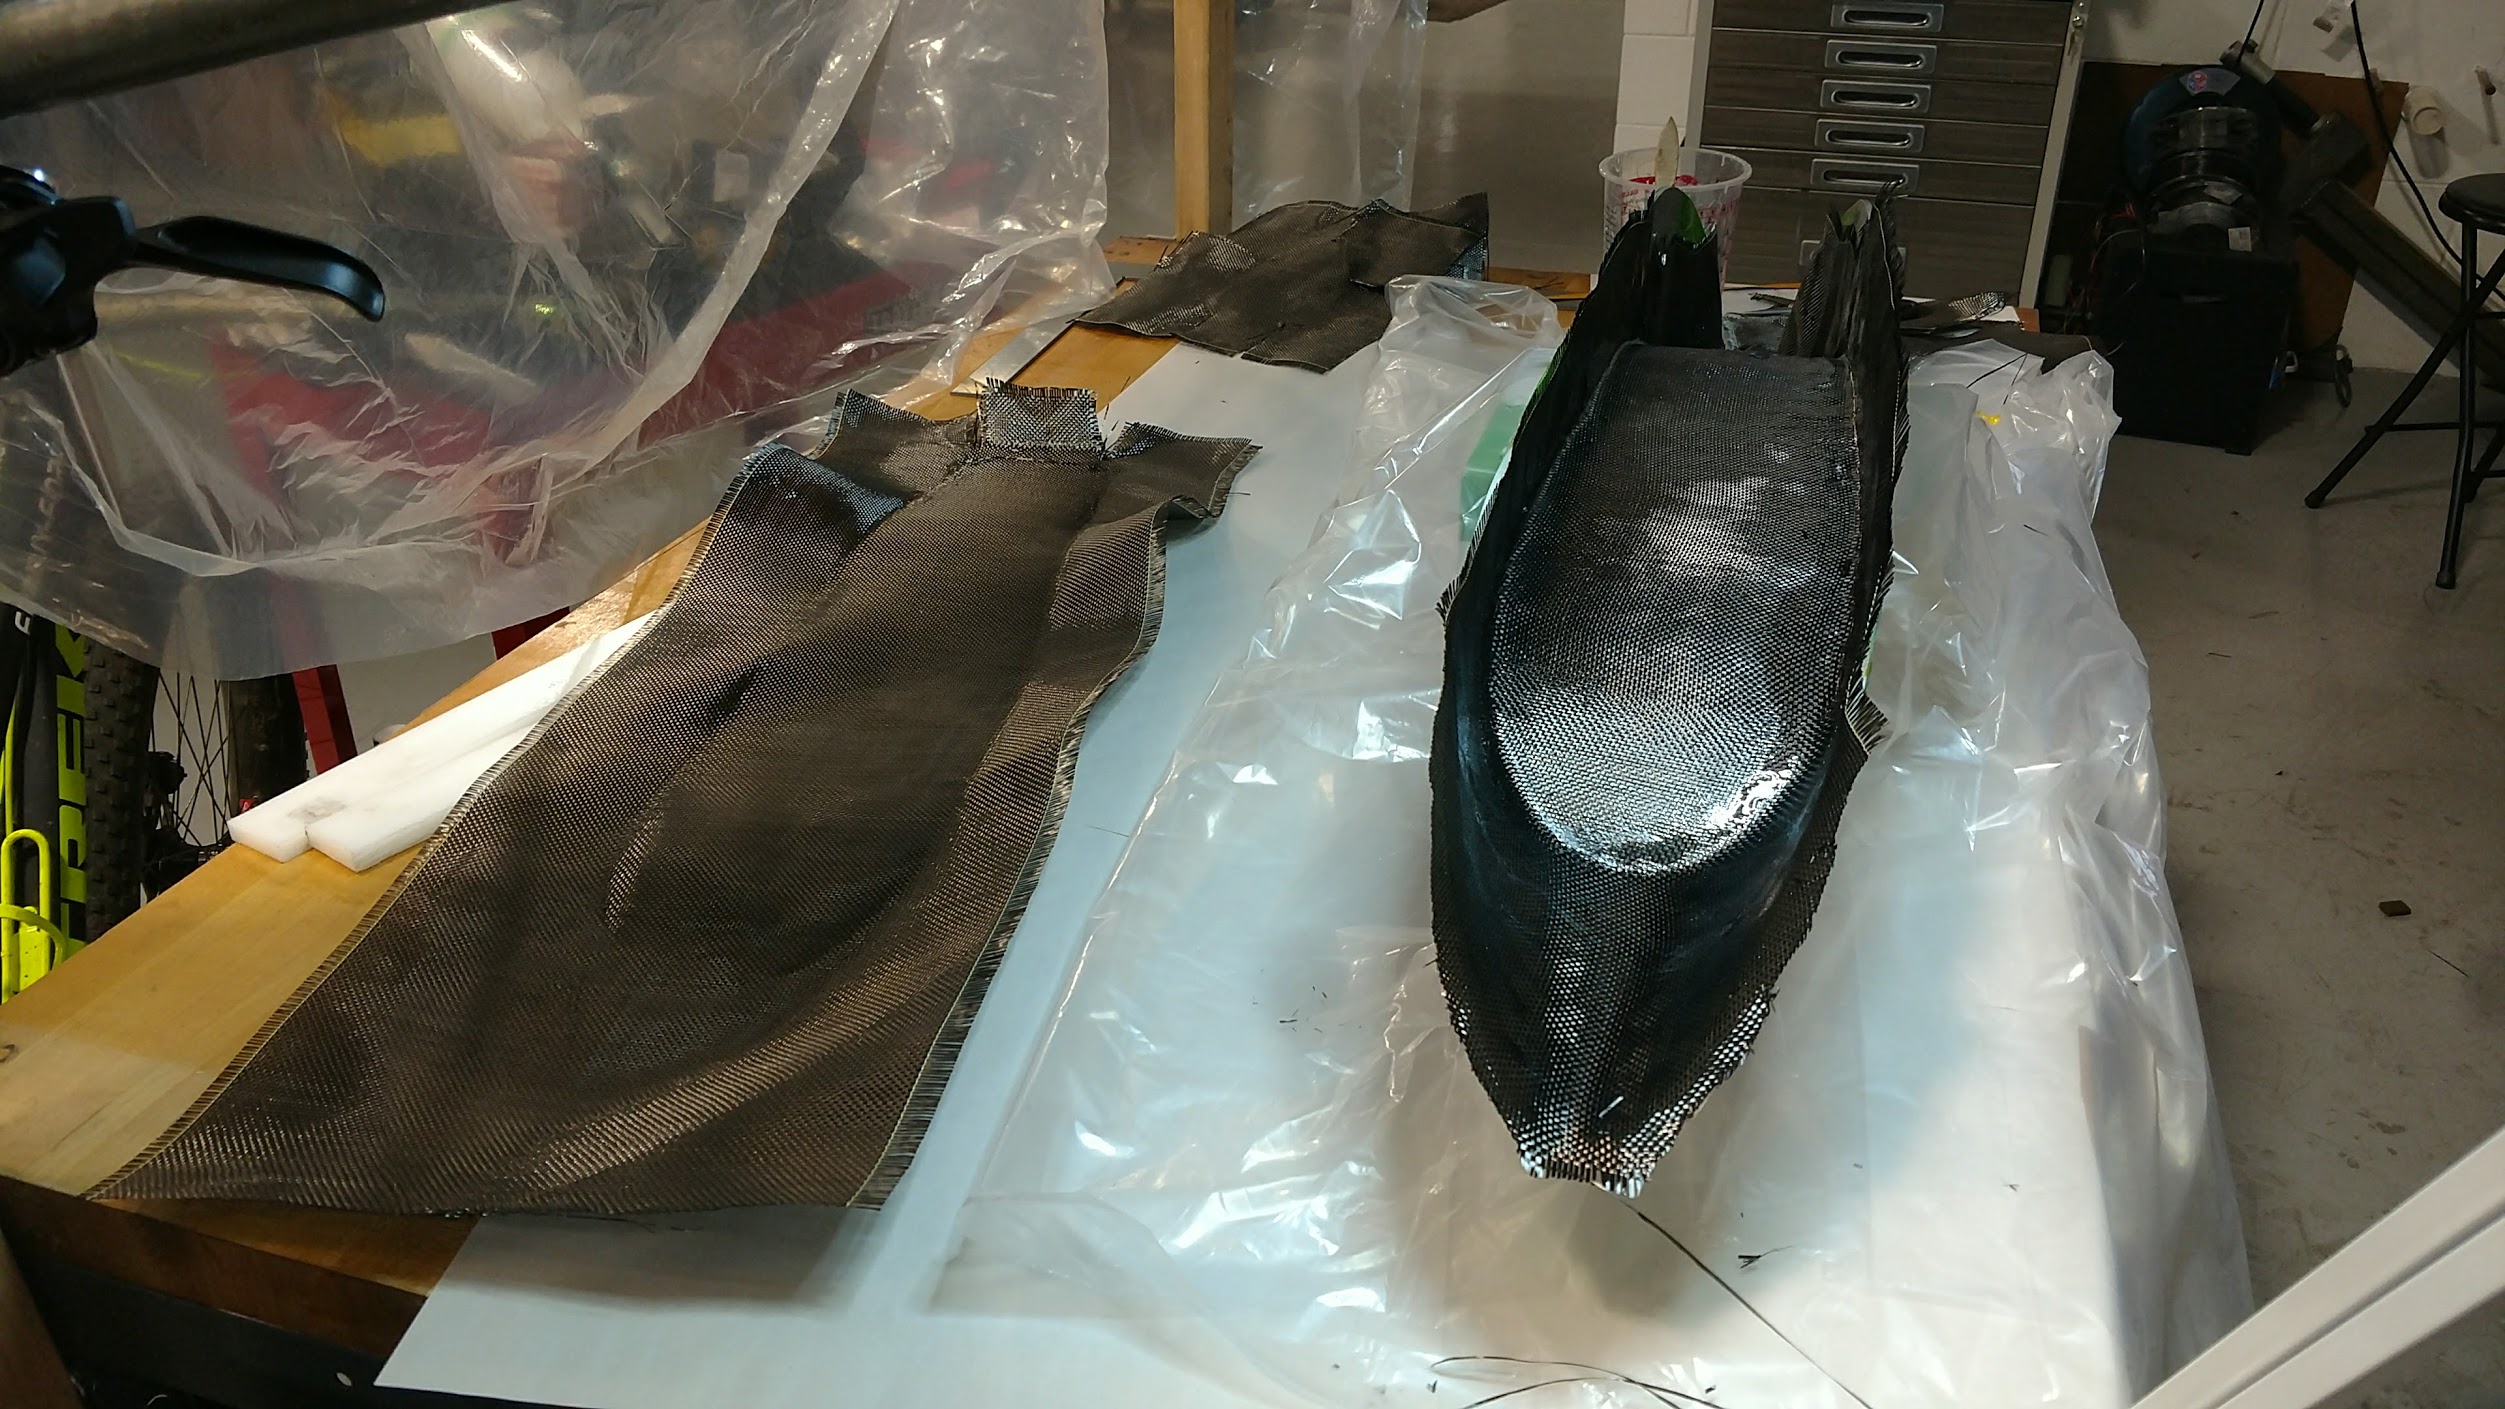
- Now comes the hard part. Carefully lay the fabric into the part being careful to align the cutout holes you have. The fabric should stick to the part like you are laying the fabric onto tape. You will not be able to reposition the fabric and if you have creases don’t worry too much its a very overbuilt part.
- Cut excess fabric around edges leaving some excess which will be trimmed before more layers.
- Use excess fabric to patch in key/cutout area.
- Cut bleeder cloth the length of the part.
- Place bleeder cloth over all fabric.
- Cut breather material the length of the part.
- Place breather material over the bleeder.
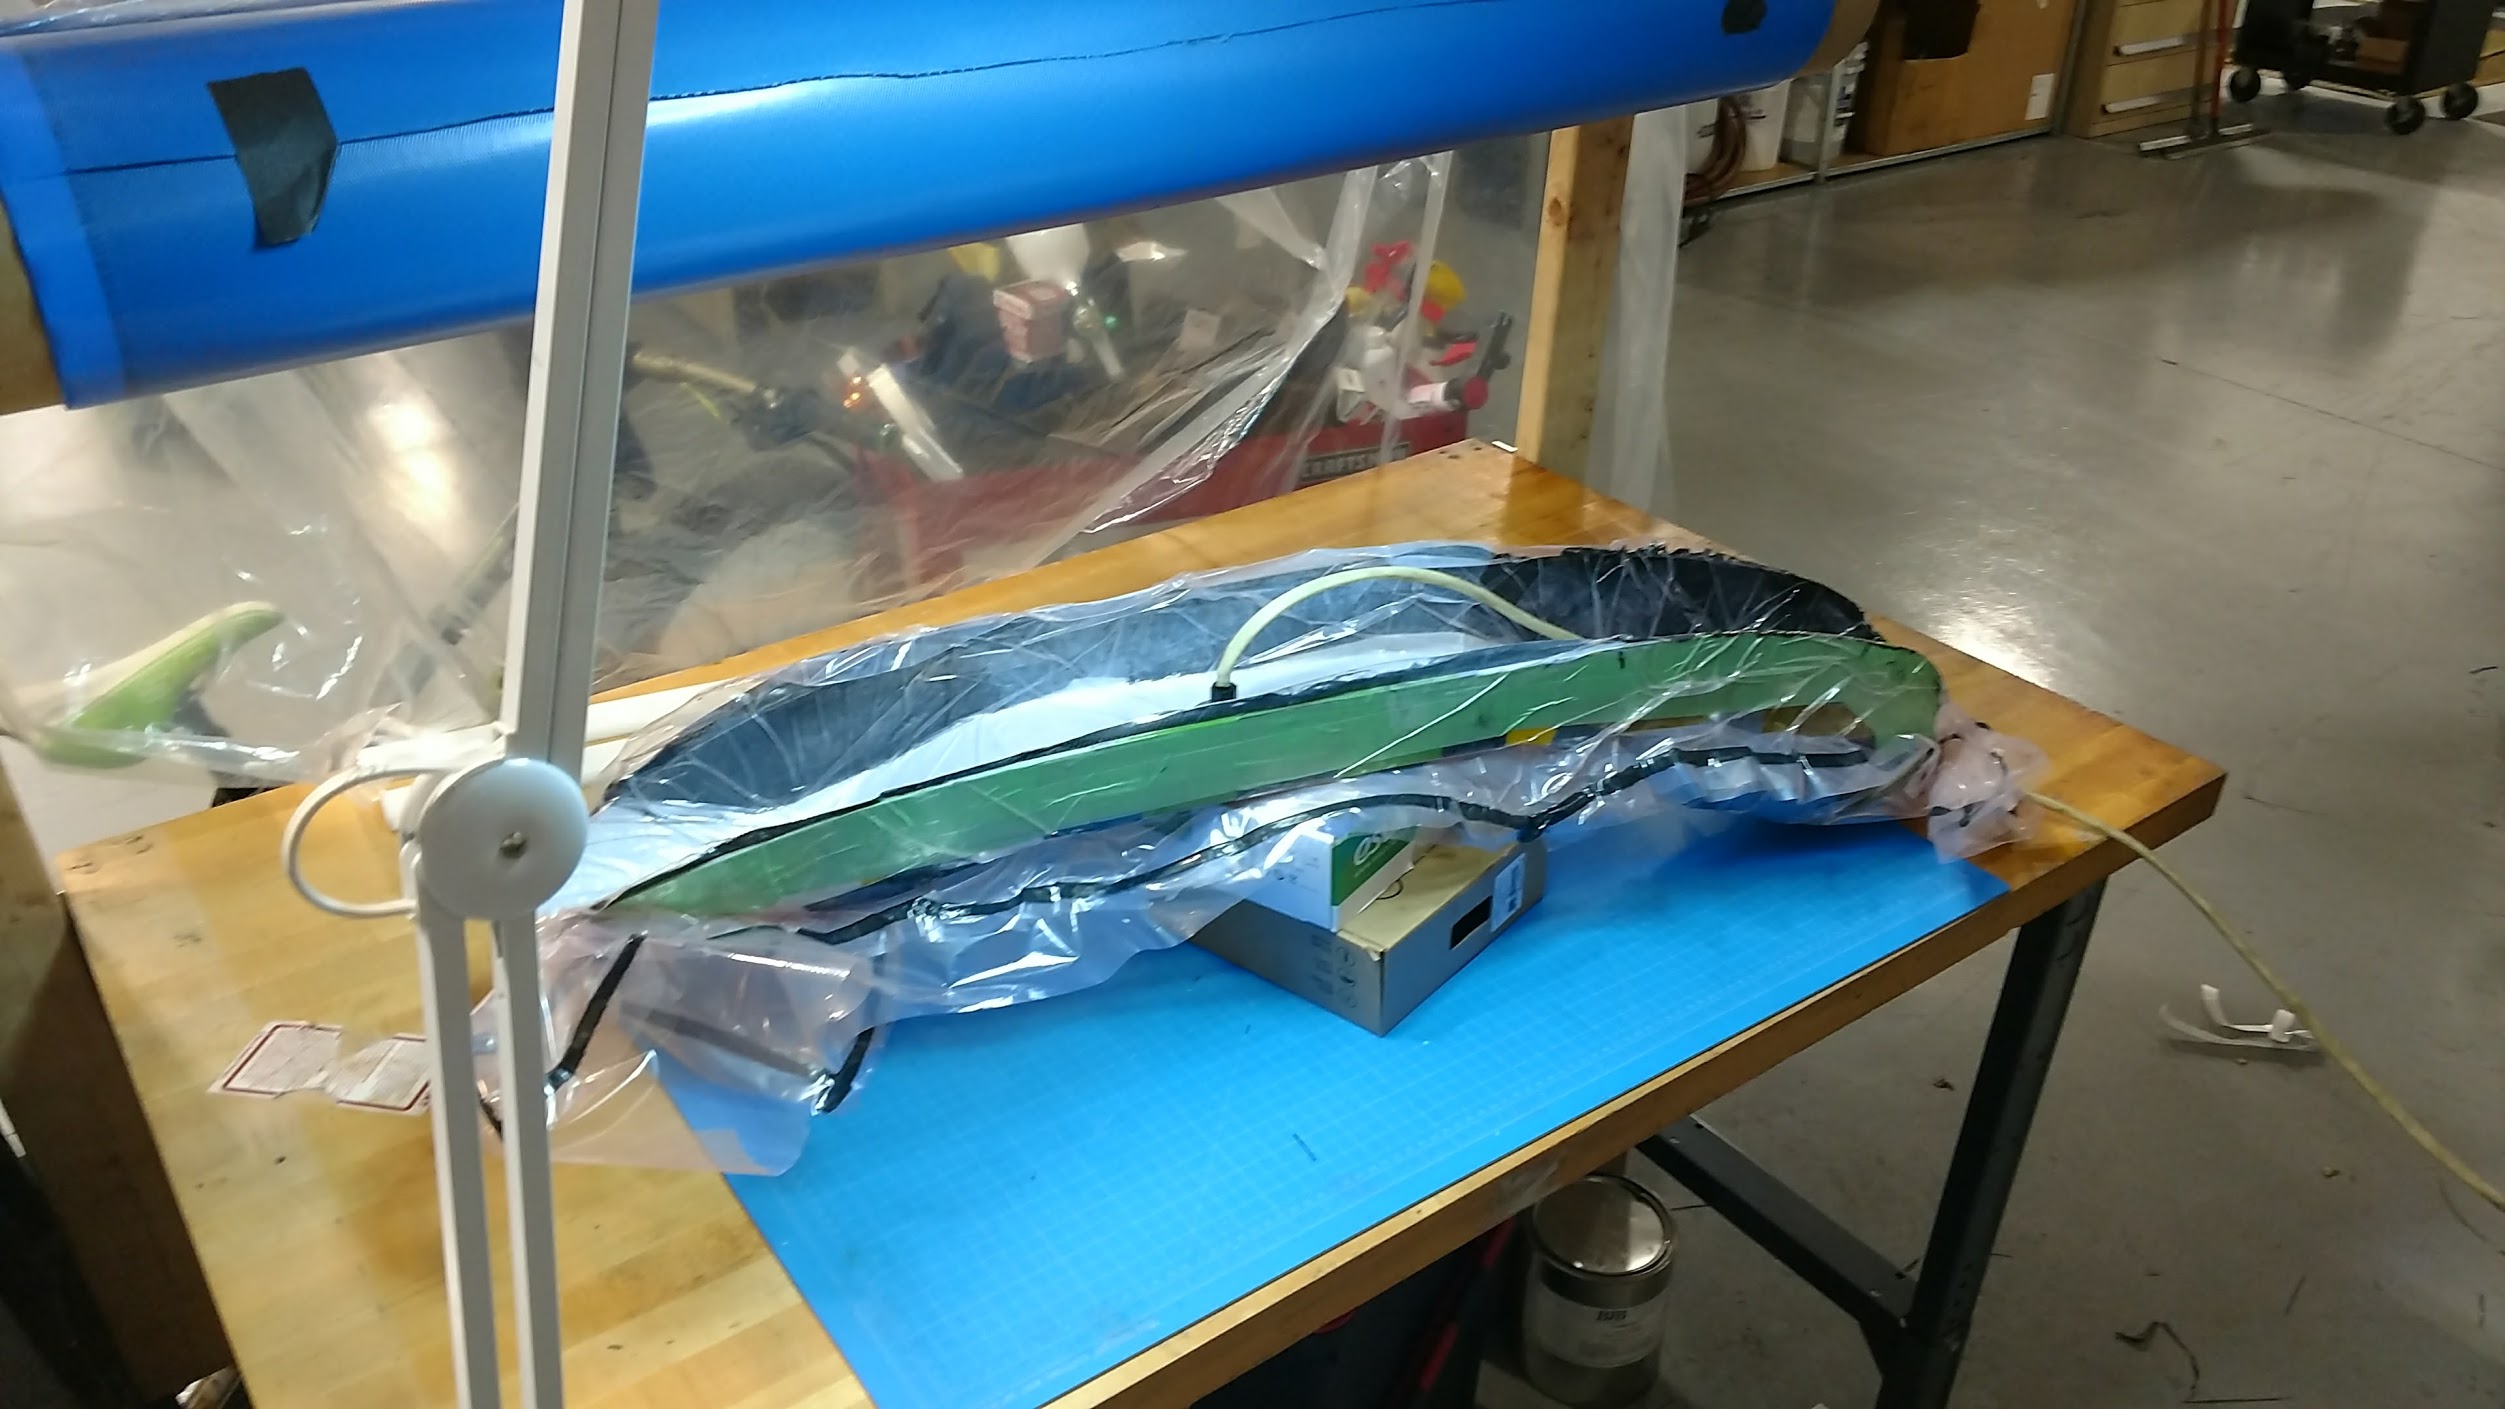
- Load part into bag length wise.
- Do not close the bag.
Vacuum Bagging and Curing…
- Now we have the part in the bag, slide the female fitting for the vacuum coupler into the bag into the center of the seat pan on the flat portion of the design.
- Close the bag carefully and remove the final piece of film from the tacky tape in the process.
- Run your finger or a roller along the tacky tape and bag to make sure that there are no gaps for air.
- Pierce a hole and connect the male fitting for the vacuum pump, make sure the fitting is sealed and tight.
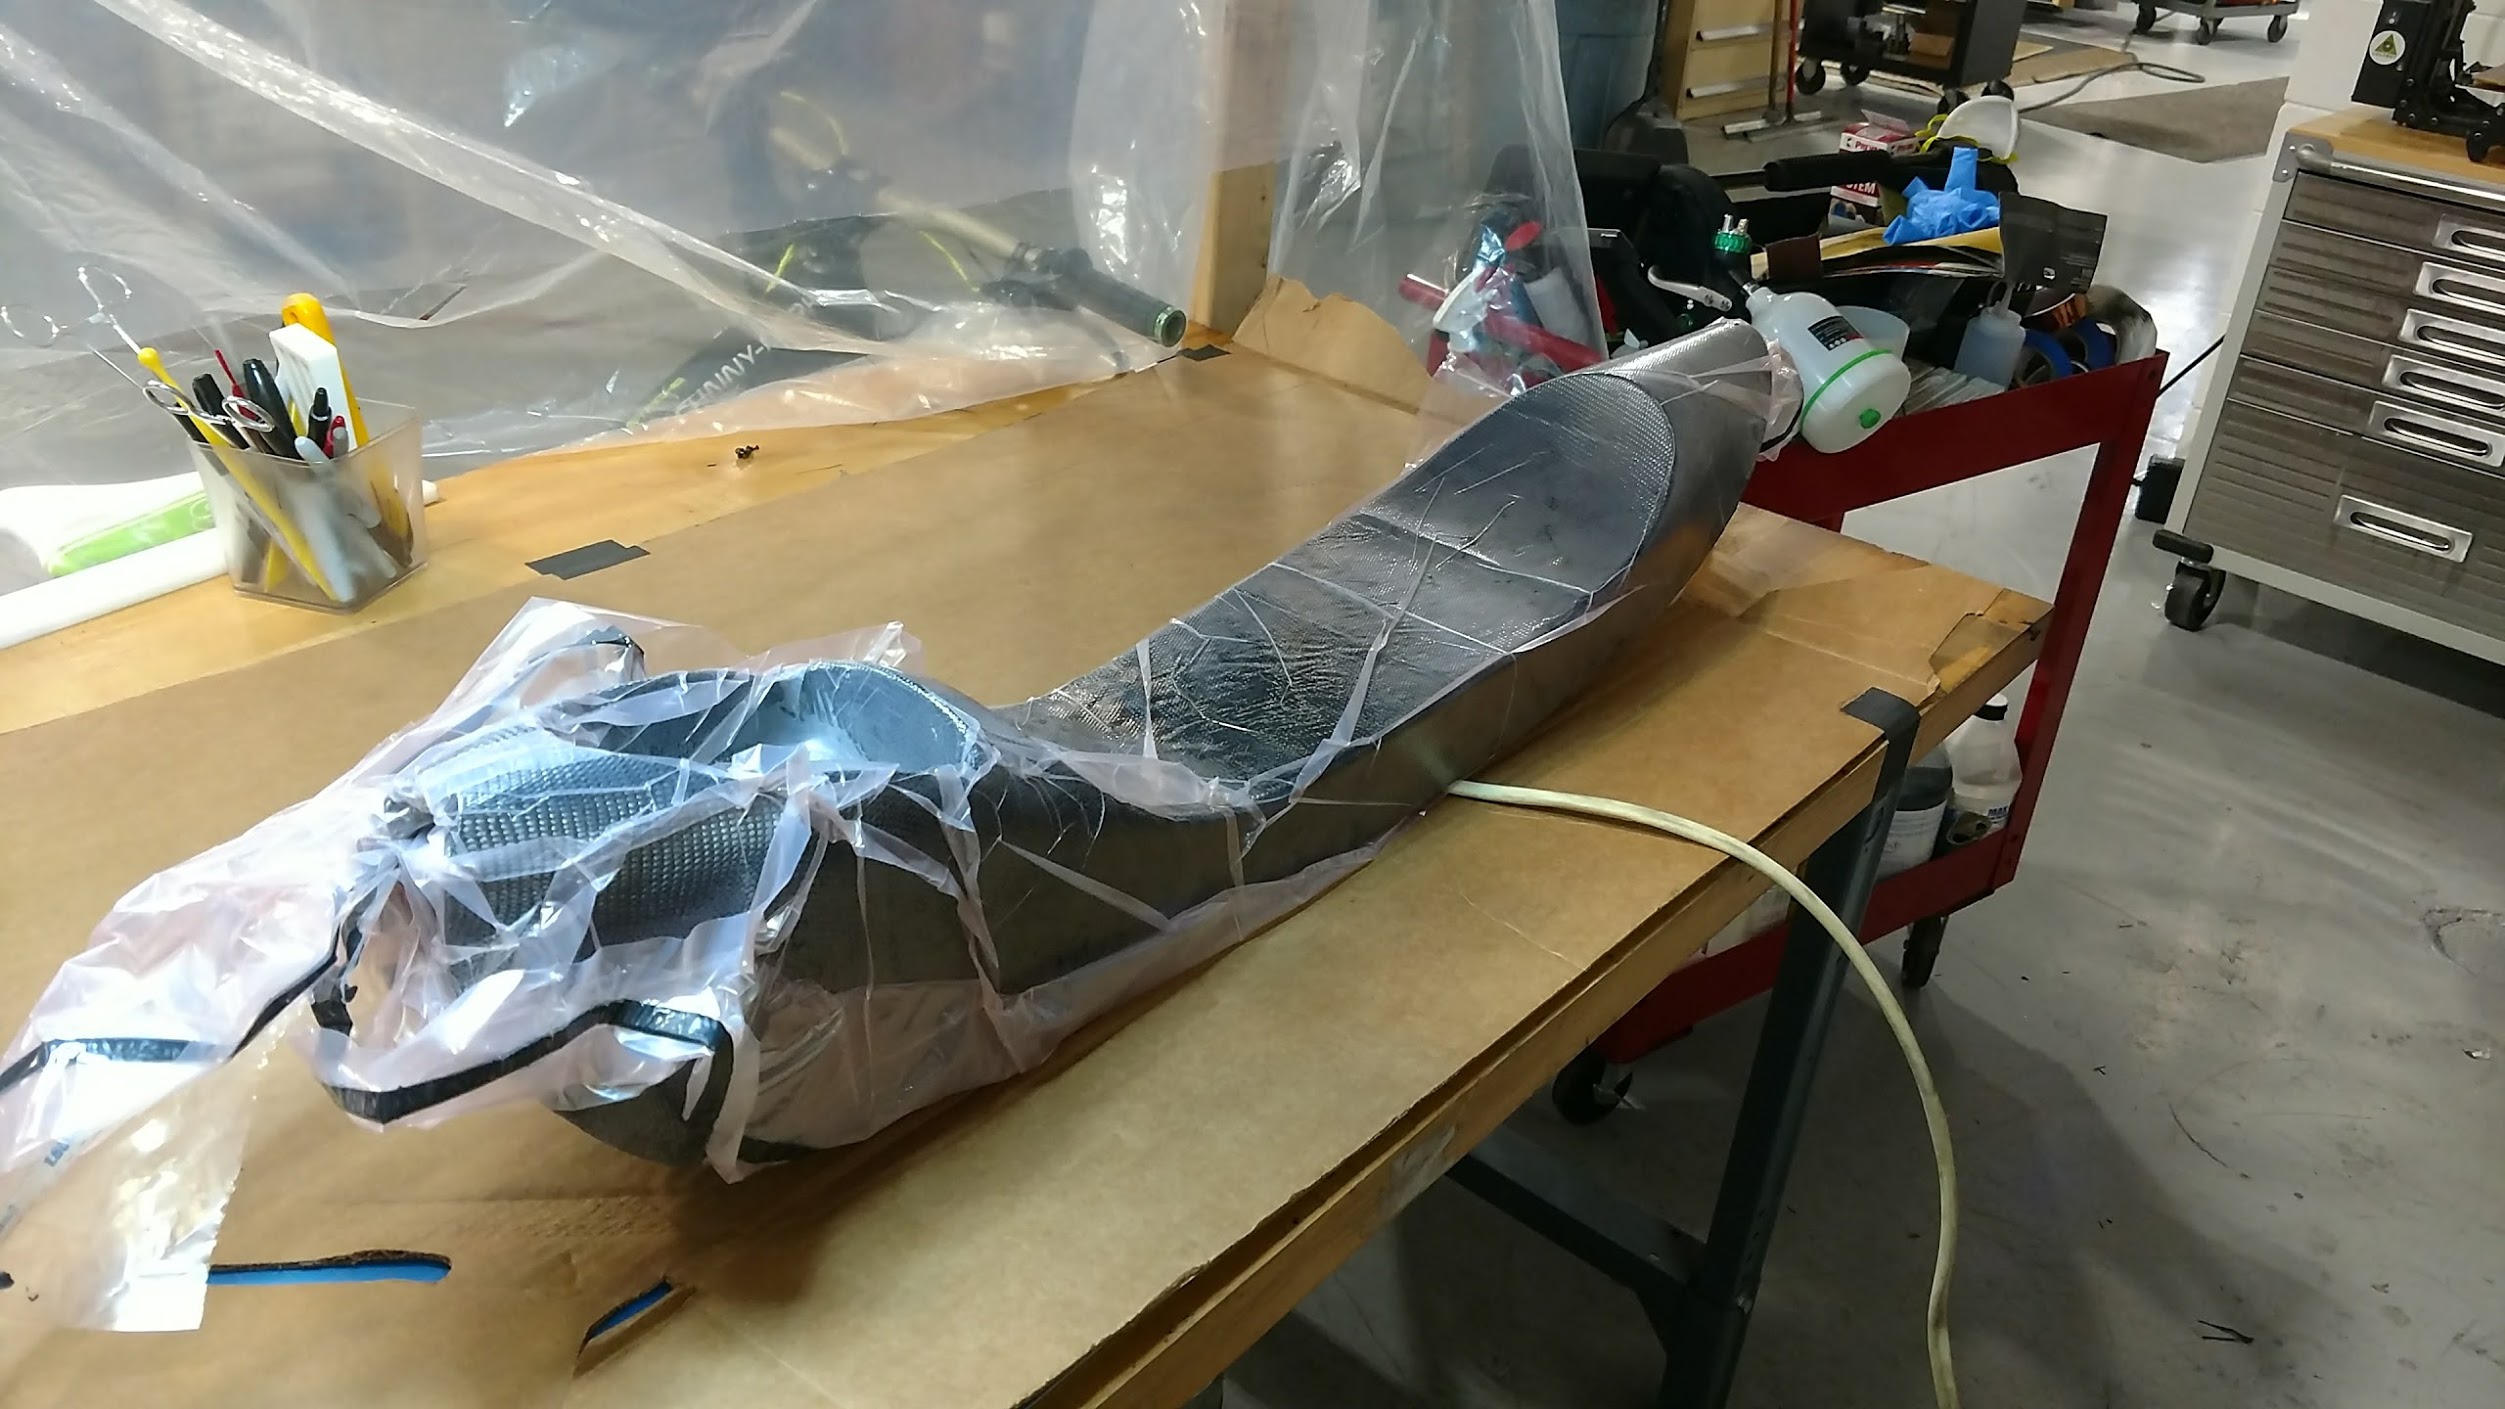
- Attach the vacuum pump and start pulling a vacuum. You should be careful to make sure no resin can make its way to the vacuum fitting.
- Inspect the bag to make sure it is properly compacting the composite material and not webbing across the core part, make sure the pleats are doing their job to make the bag fit tightly on the part in all crevices.
- Let cure under vacuum for 6-8 hours. If temperatures are below 75f then cure for 12-24 hours wrapping it with a low power heat blanket for the final 4 hours.
- When removing the part from the bag, plan on reusing the bag so only open it from one end. It can be easier to remove tacky tape when its cold, try using keyboard duster to cool the bag before removing from the tacky tape.
Repeat the process with some tweaks…
- Now we will do the same thing, with the second layer of fabric on the bottom side, except we don’t wait for the resin to get tacky. We want the resin wet and flowing.
- The fabric should be applied when the resin is wet and sticky, not tacky.
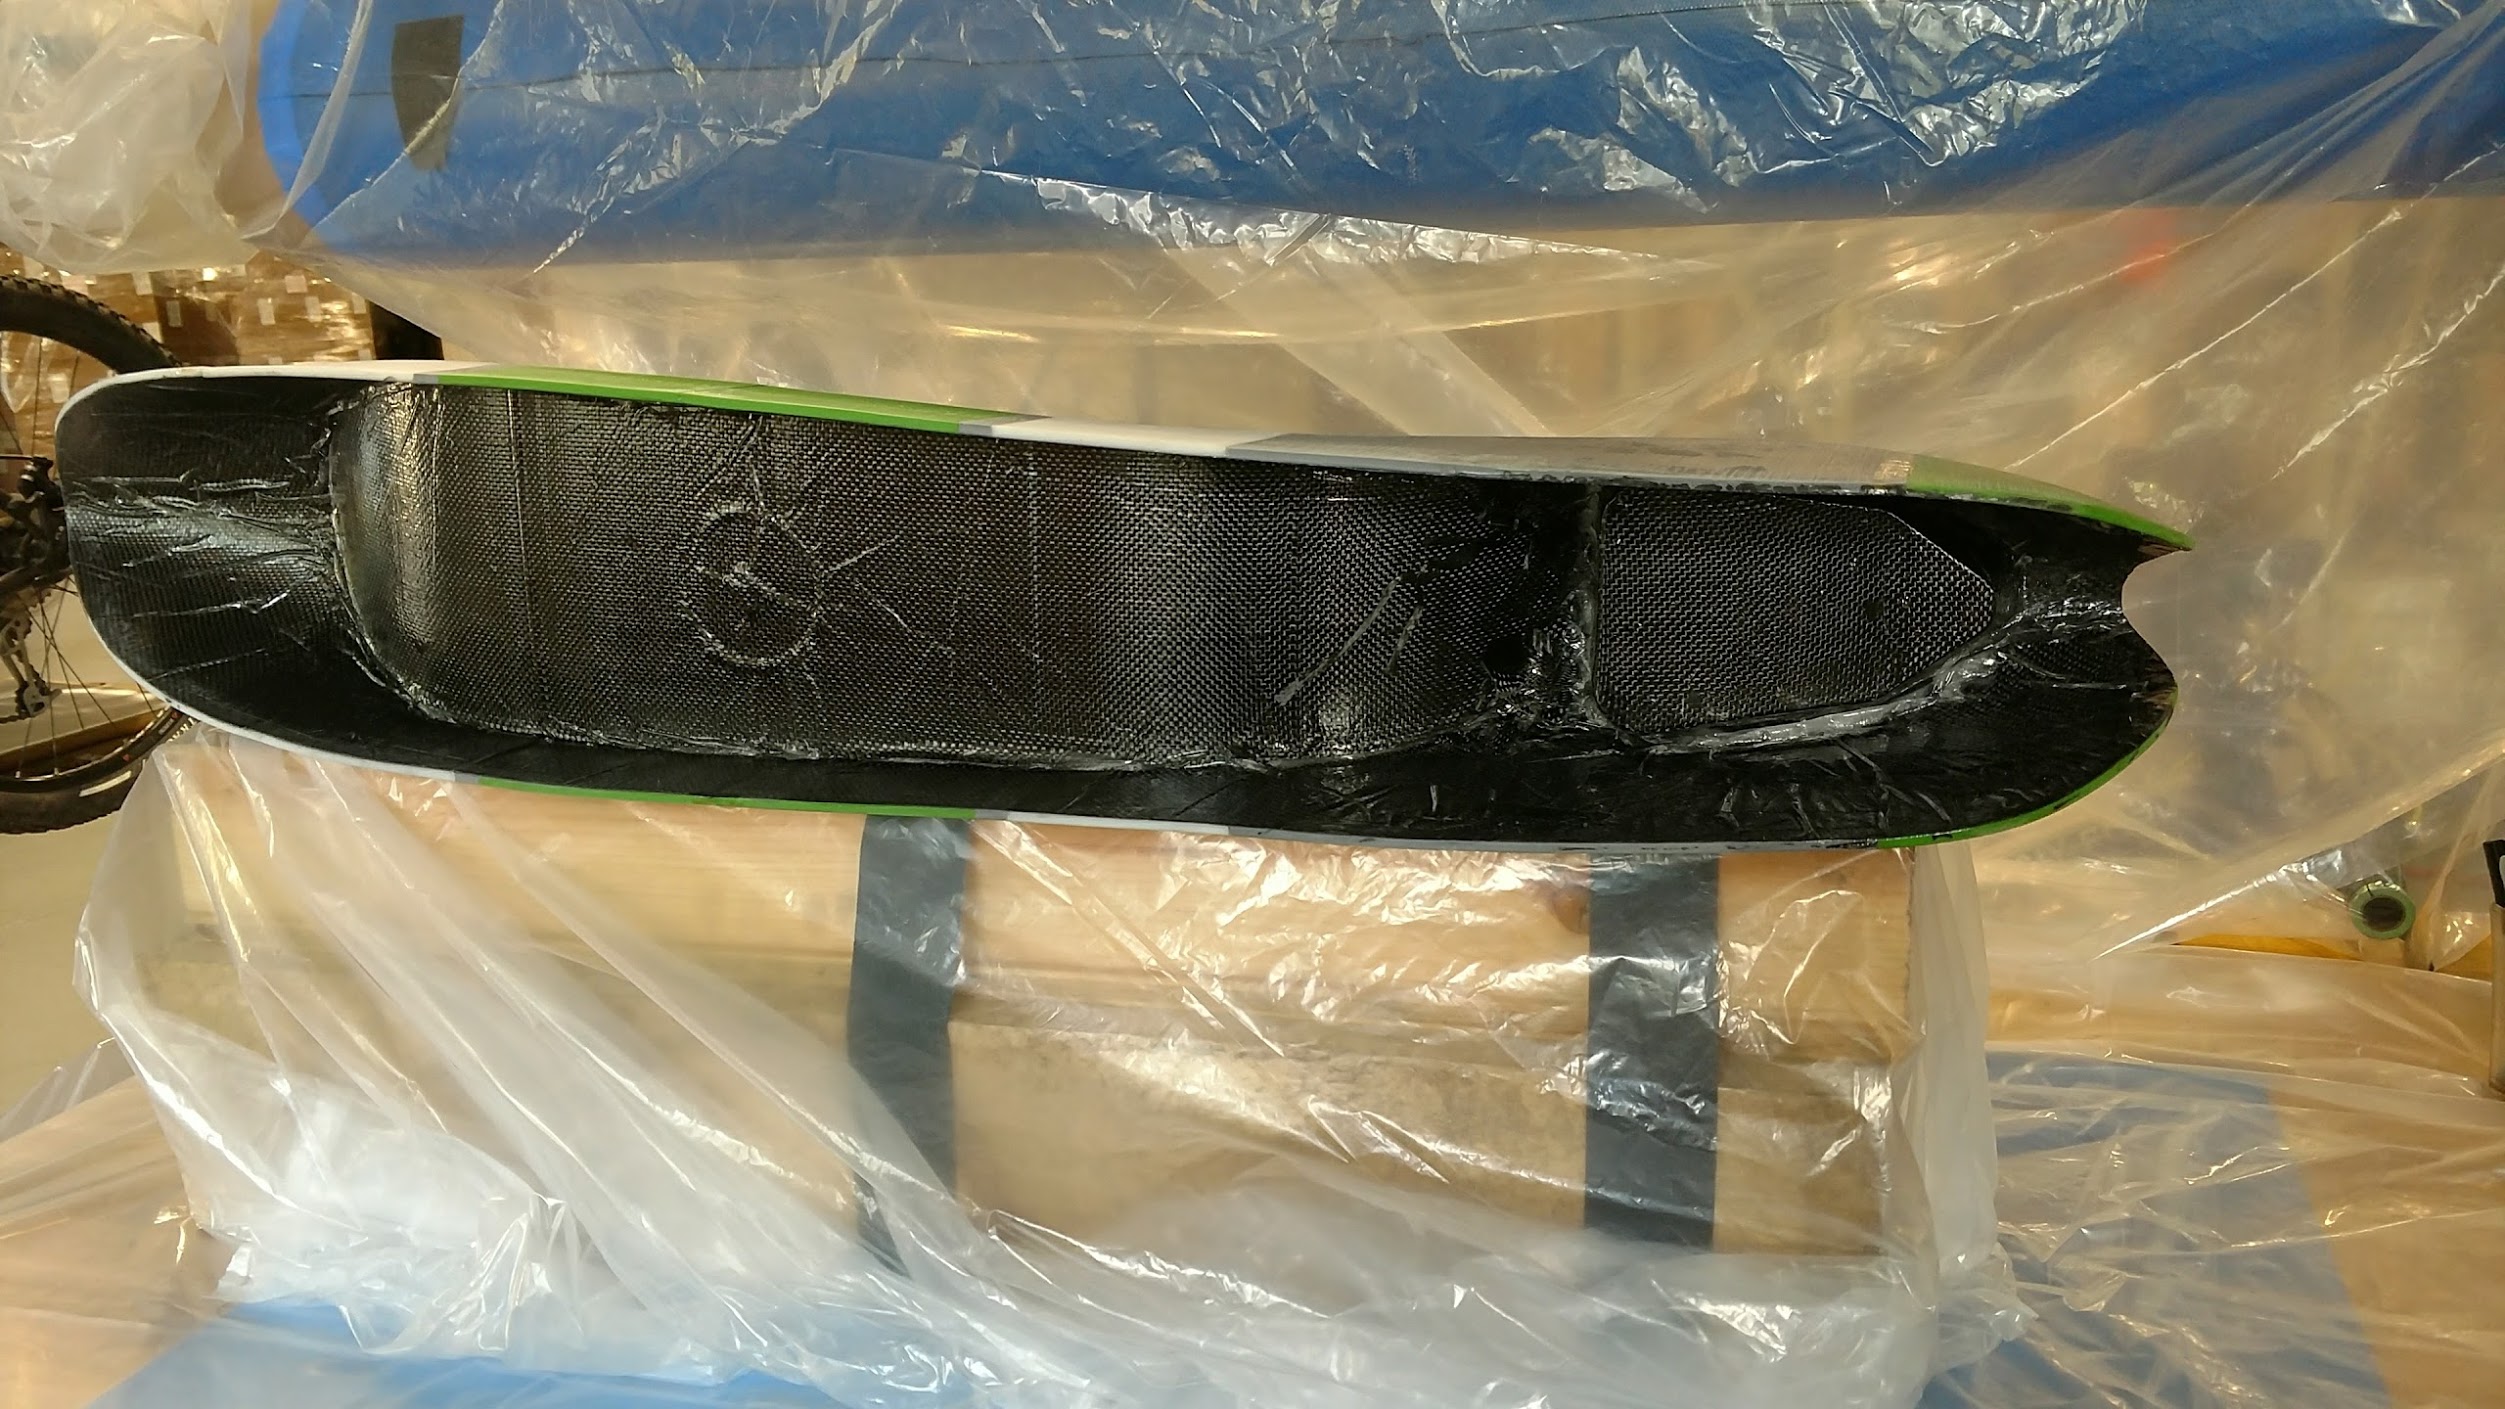
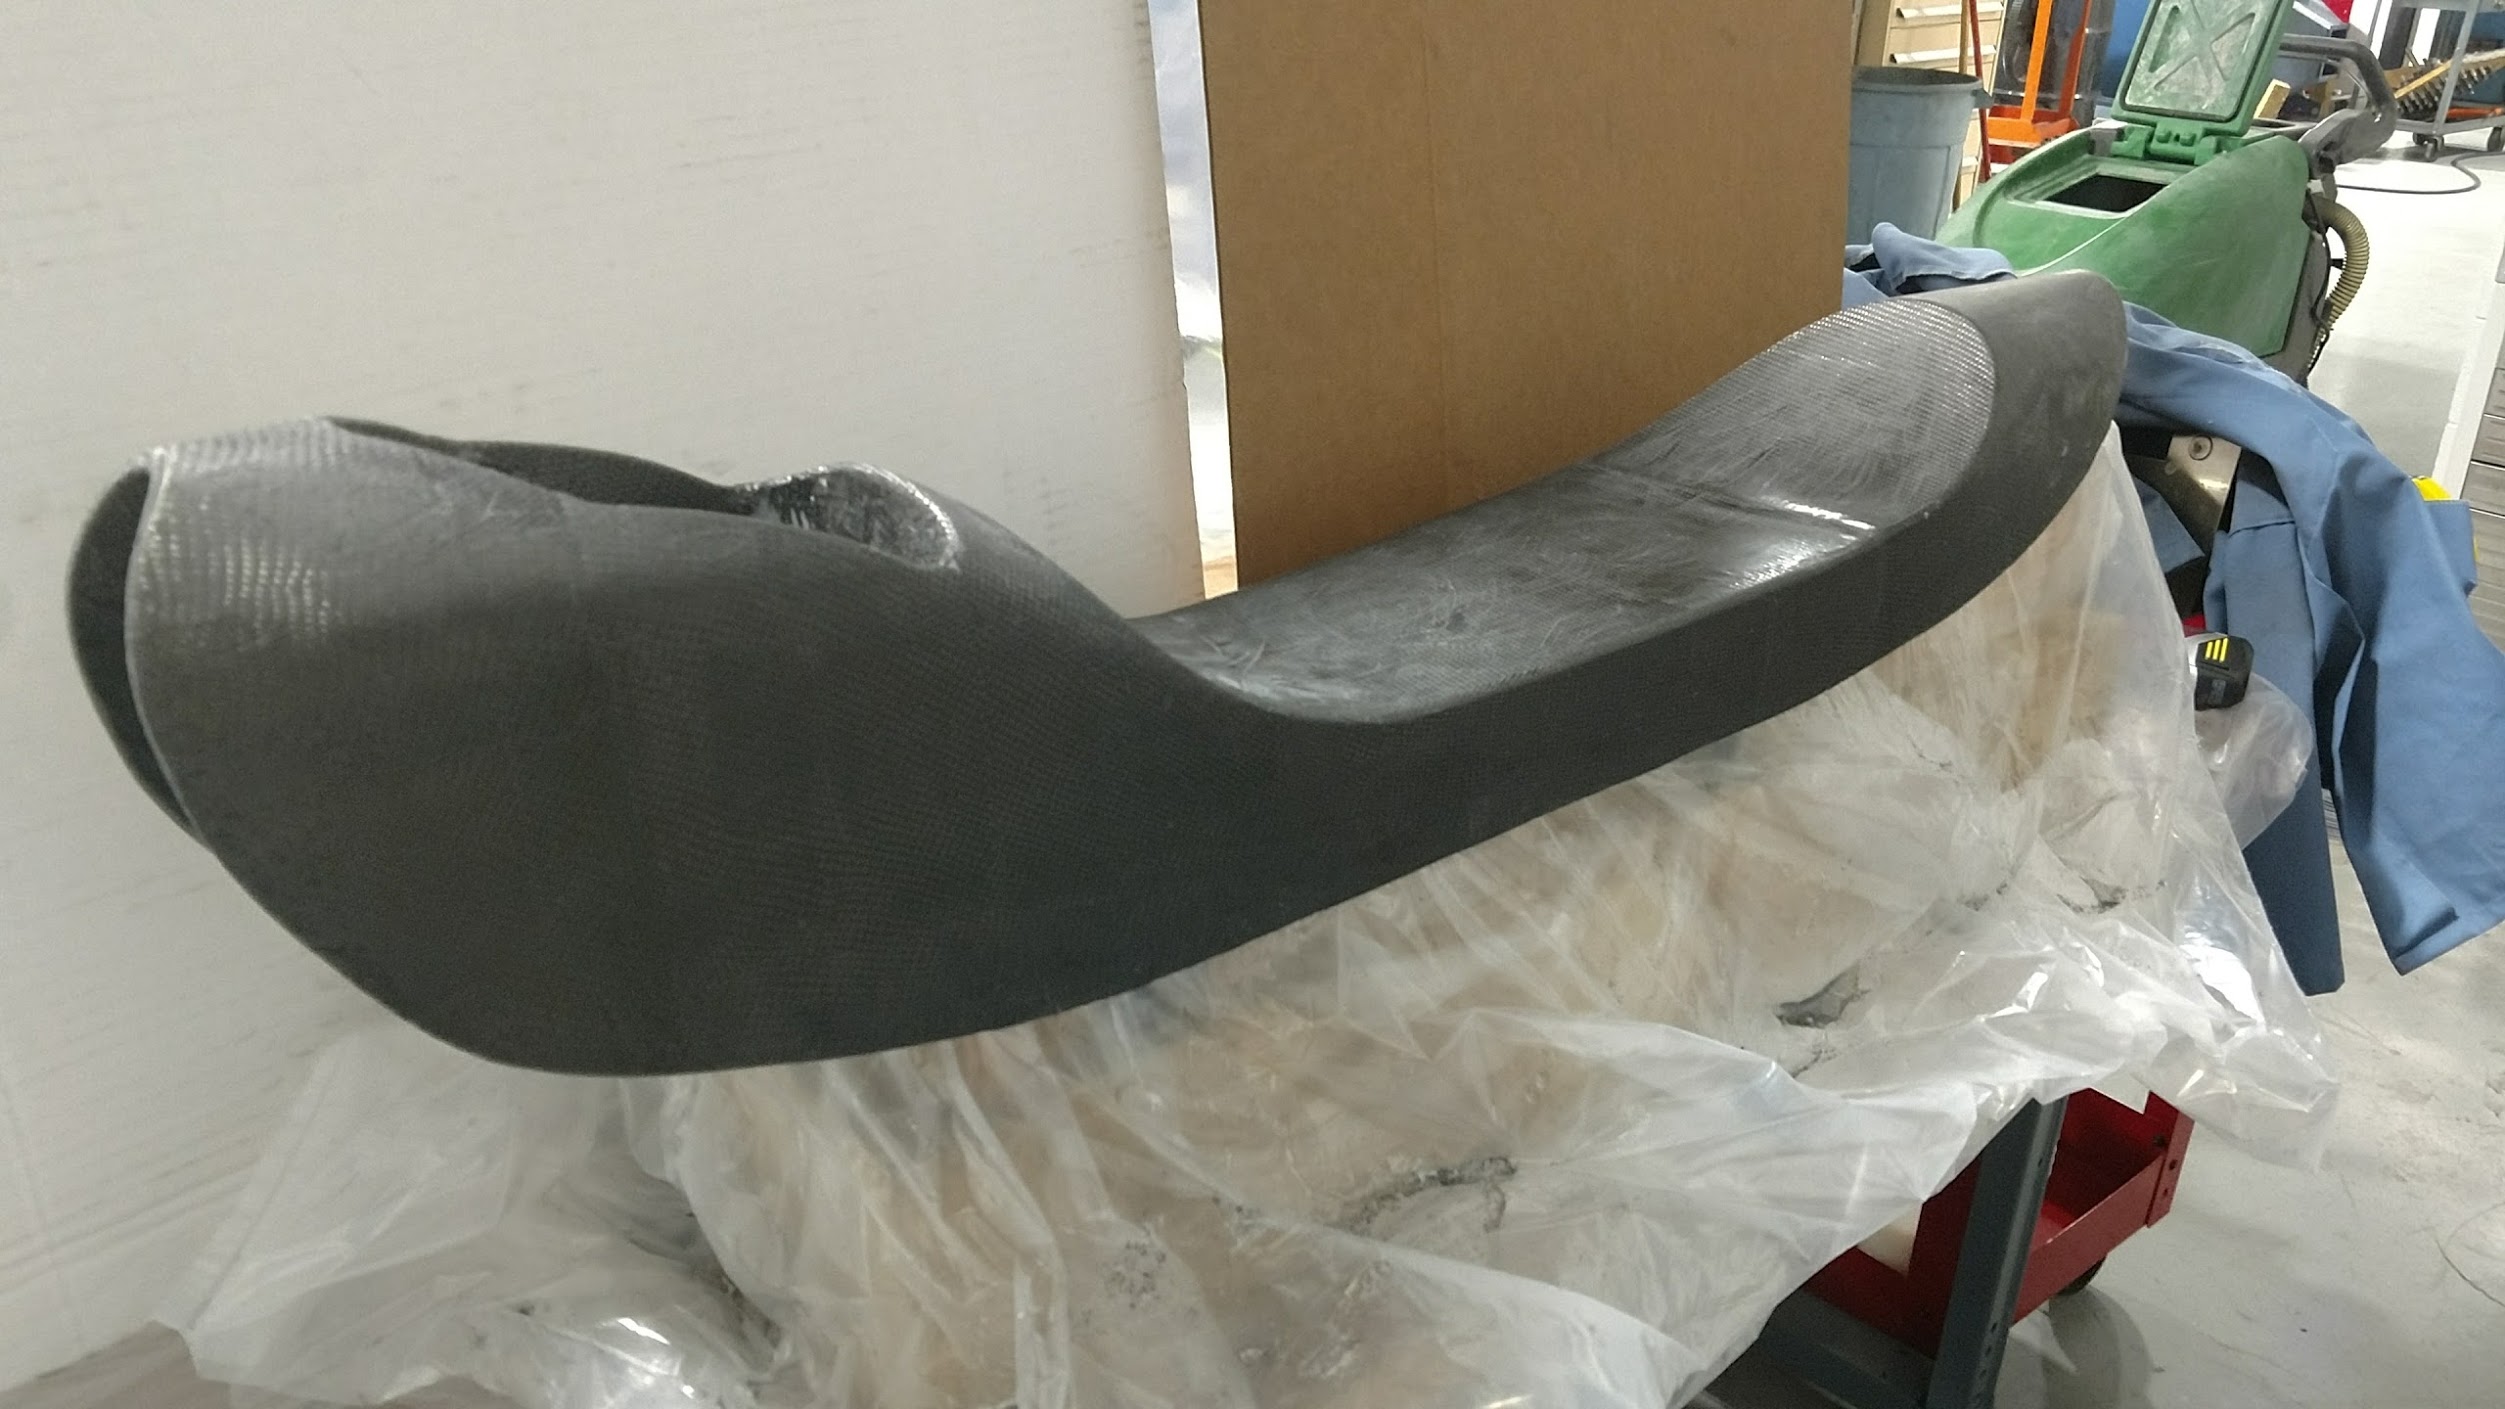
- Do this for both second layers of fabric. This will mean there is excess resin which creates wrinkles which will need to be removed with sanding post curing.
- When you are all done you will have 2 layers of carbon on the bottom side apply 2 layers to the top side.
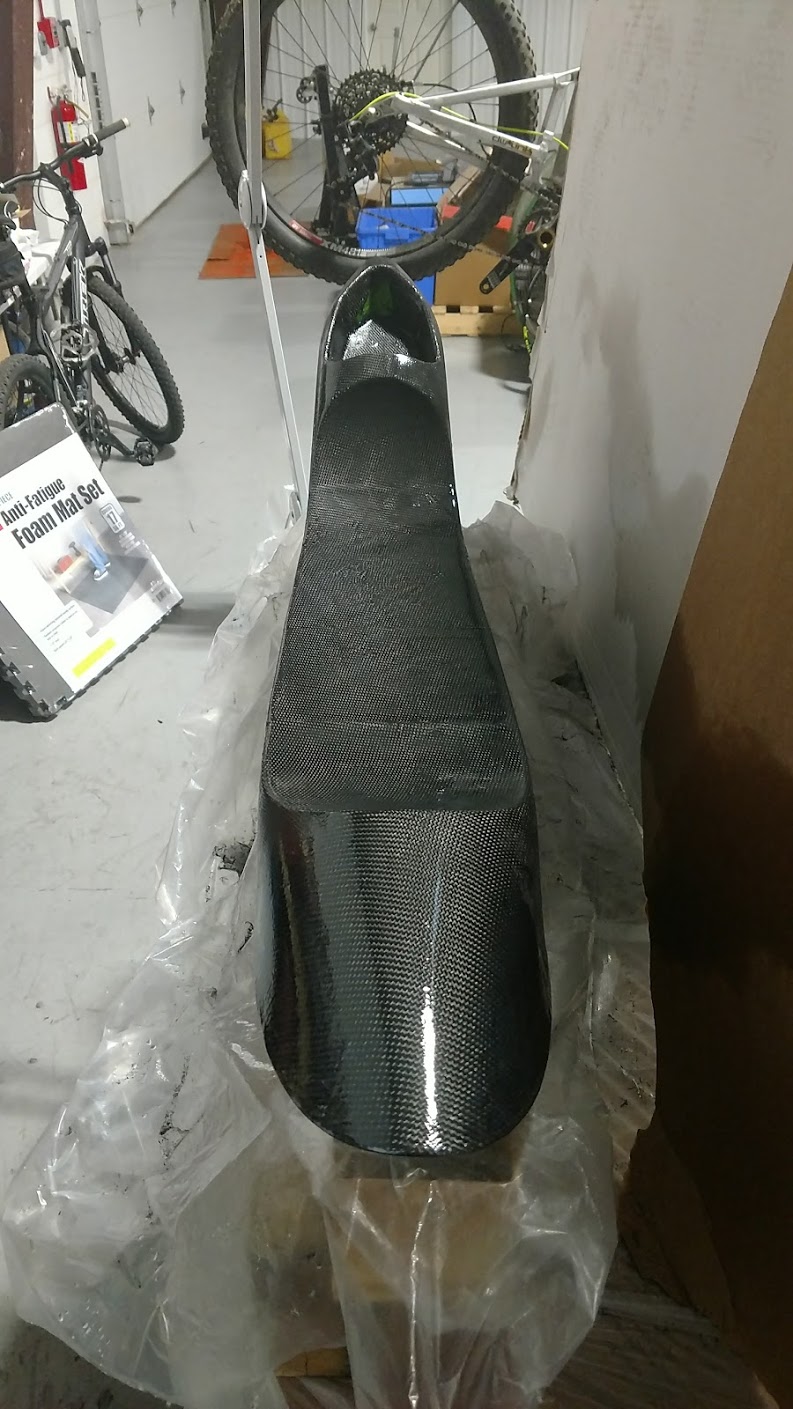
Preparing the subframe for the bike…
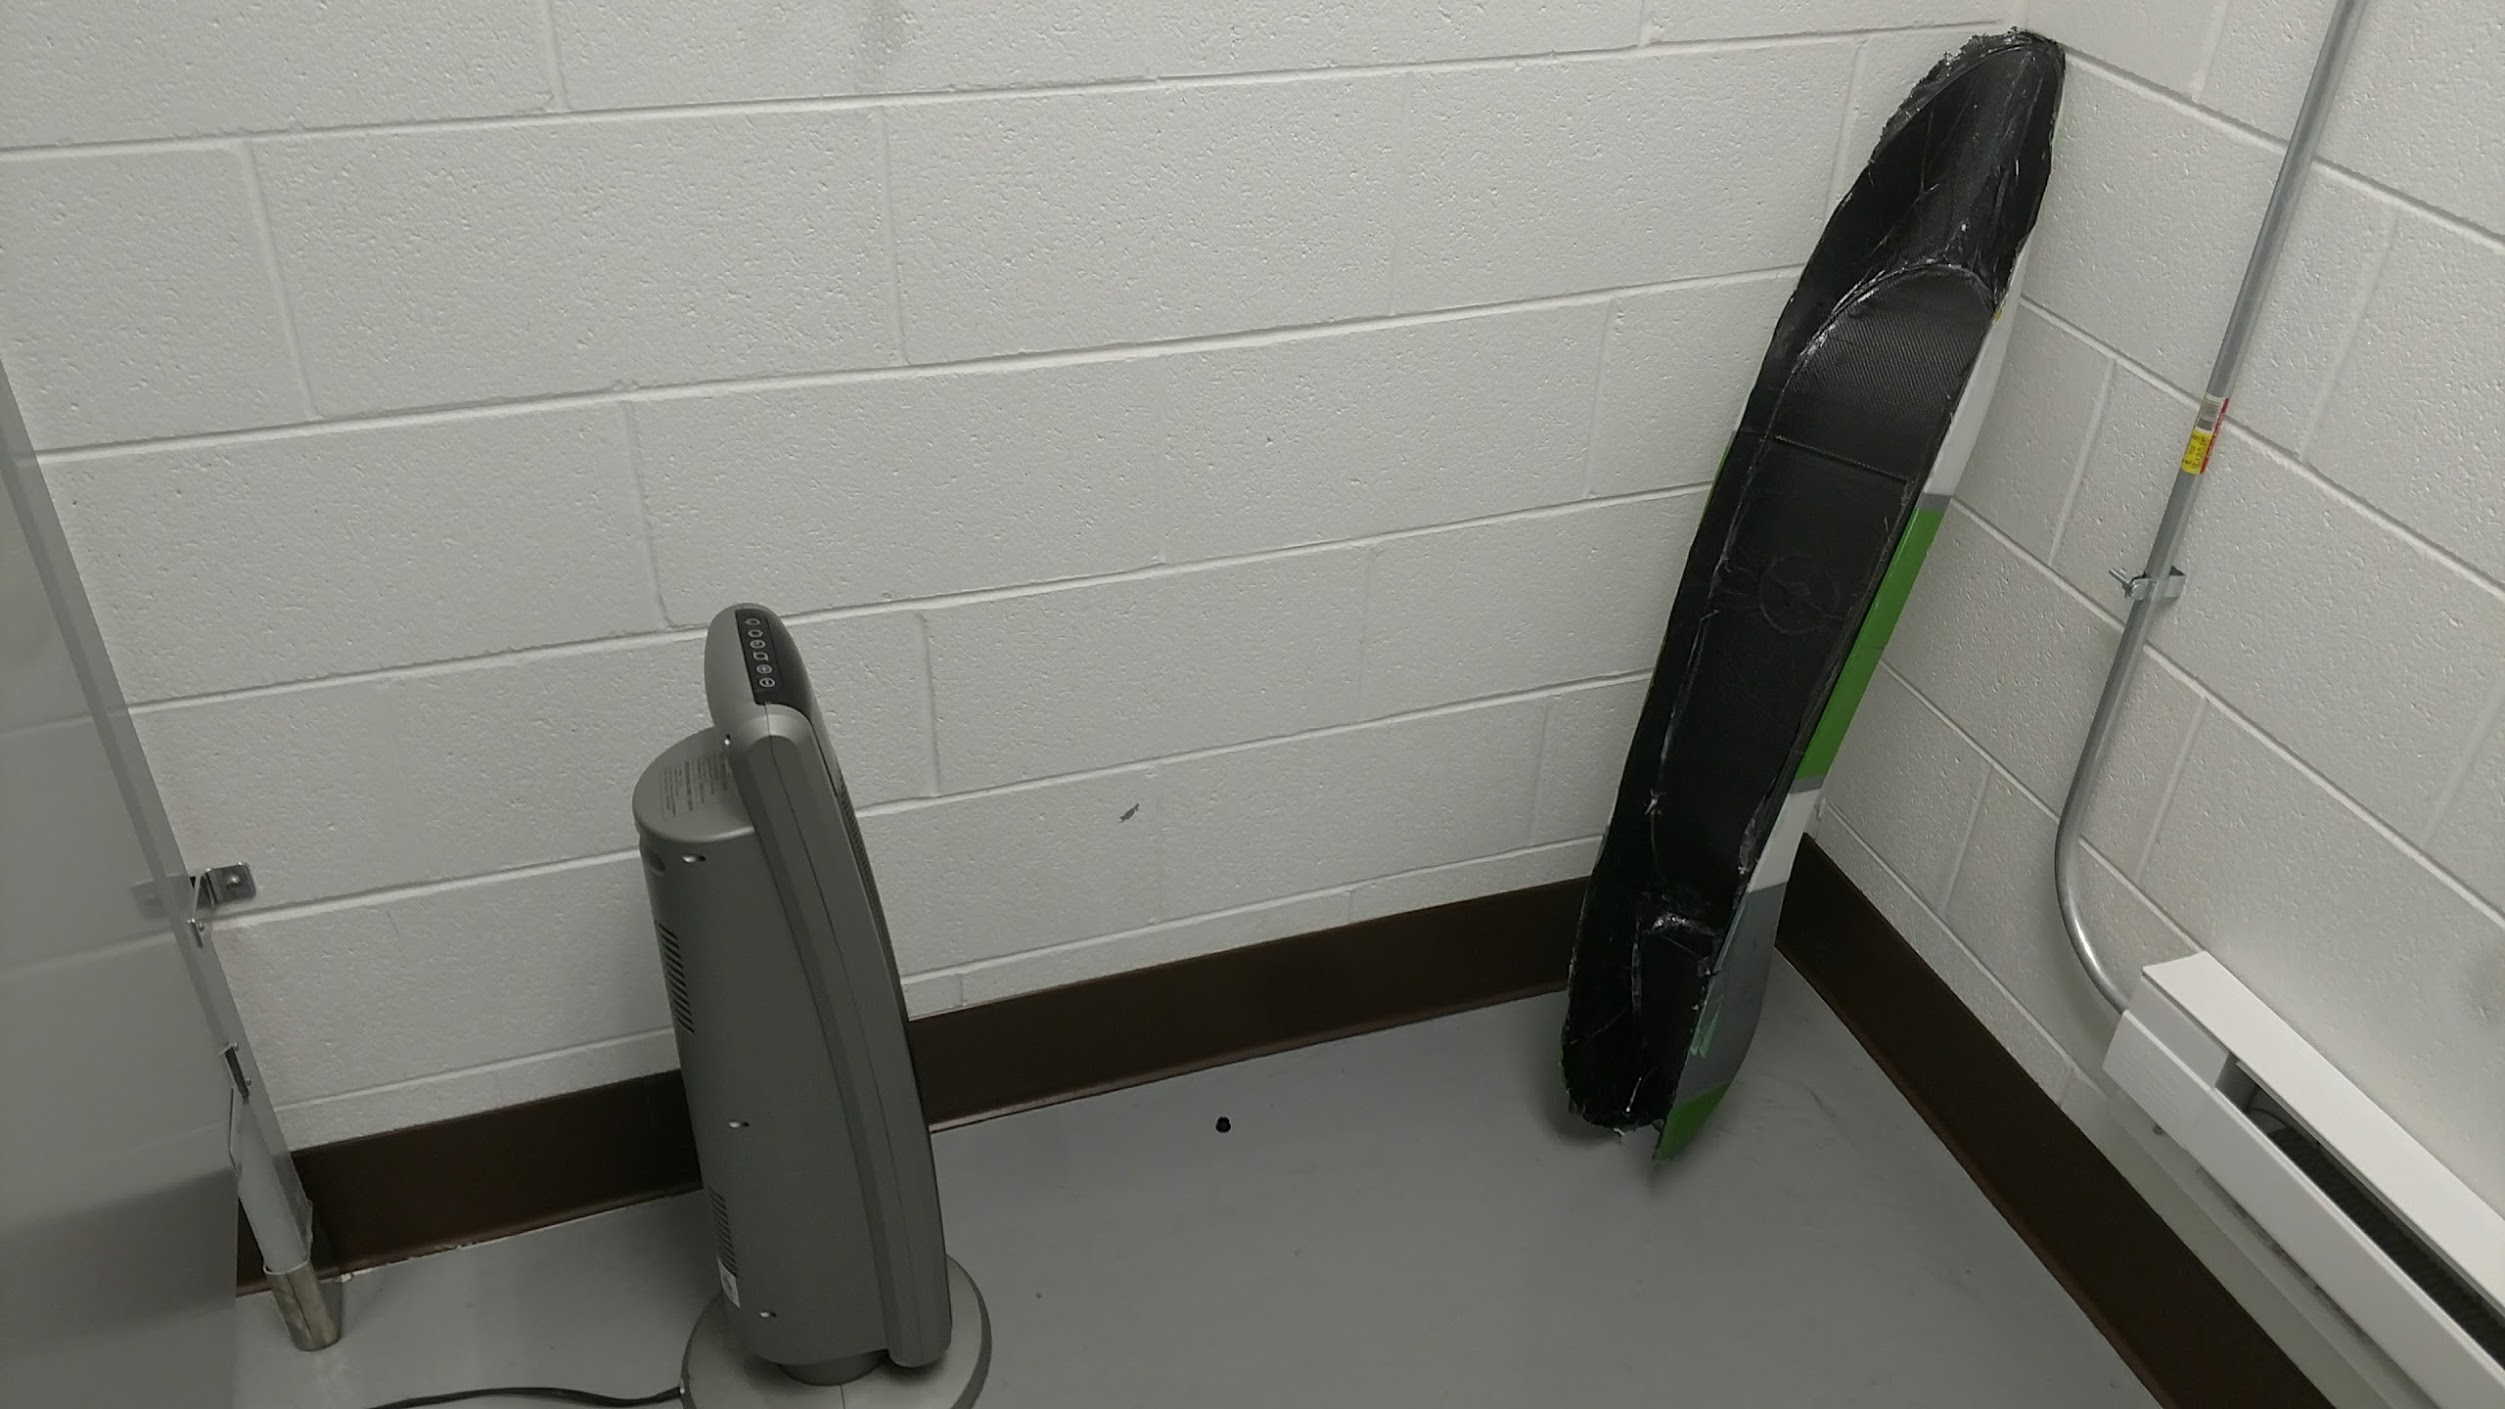
- You will want to paint the carbon in clear if you have any exposed carbon after sanding.
- Before drilling holes for the seatpost mount, or Head tube/Top Tube mount place both items on the bike and check fitment at required seat heights.
- Place seatpost mount onto seatpost.
- Place head tube/top tube mount on frame and secure as per instructions.
- Set seat subframe onto bike and mark hole location for head tube/seat tube mount.
- Drill hole for head tube/seat tube mount.
- Secure seat subframe from head tube/seat tube and set on seat mount.
- Mark seat mount hole locations on seat subframe and drill holes to match.
- You will need a shim to makeup the difference between the Seat Subframe and the Head Tube/Top Tube mount. This thickness is based upon your seat height. The material used for the shim should be soft, I used a silicone blank from an excess silicone molding project. You could use a folded inner tube, or rubber sheet stock stacked with hole in the middle.
Notes:
- Why not just do all 4 plies at the same time, holding them in place with contact adhesive? If you are good at doing composites and feel confident doing this, then do it this way, its far faster and produces a lighter part with less epoxy.
- Why not resin infuse this part after laying up all plies as listed above? If you have experience with resin infusion and can confidently apply all layers of fabric do that, it will work better. (this is how I would do it now)