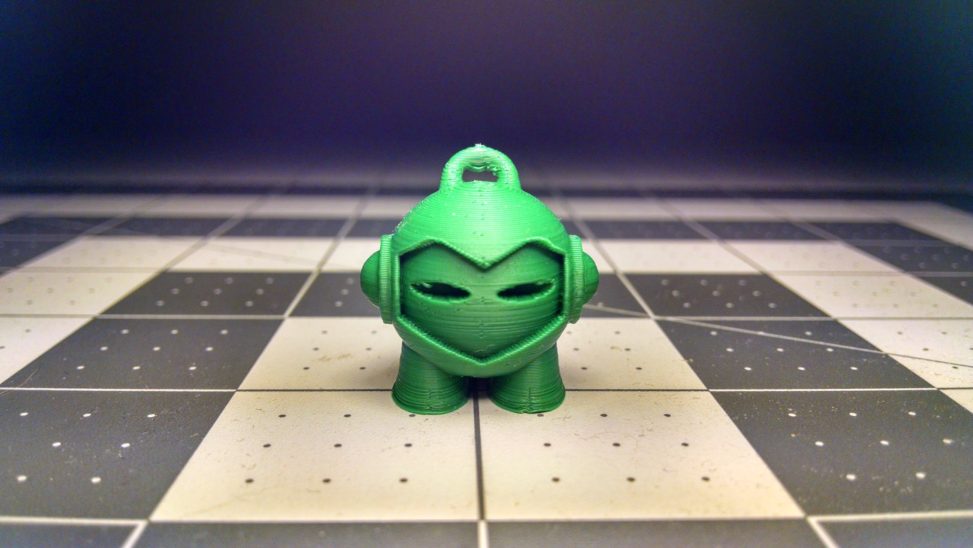
Sometime in 2015 I picked up a 3D printer at MicroCenter of the open box variety. The few hundred in savings out of the gate seemed a good bargain at the time but it also meant the second extruder was malfunctioning out of the box, and a few parts were missing. Not unlike most second extruders which are not intentionally purposed, this one became a pick and pull used to maintain extruder one. This only lasted so long, and I wanted dual extrusion again, luckily I had a dual head replacement in waiting from the fleabay. Immediately after unboxing I realized the unit was only about as good as its components, and those looked questionable, but it was a backup and these things are assembled in an annoying fashion so I was hoping it would stay on the shelf.
After over a year of use and 2000+ hours the stock remaining extruder had reached its limit. Unfortunately rebuilding these devices becomes fruitless as the un-anodized aluminum threads and mating surfaces eventually see too much wear to be usable. Since the fleabay unit was complete I decided to wire it up as is. These things are fairly straight forward but occasionally you put some steps out of order and have to start fresh.
Some tips on aligning dual head Flashforge, Powerspec, or any other MK8 knockoff:
1. Set both extruders to an identical height.
2. Keep thermocouple and element out until final assembly.
3. Install shim on final assembly, raising the left extruder by 0.002 in.
4. Torque screws lightly because mating materials is likely ABS plastic.
5. Level bed and test.
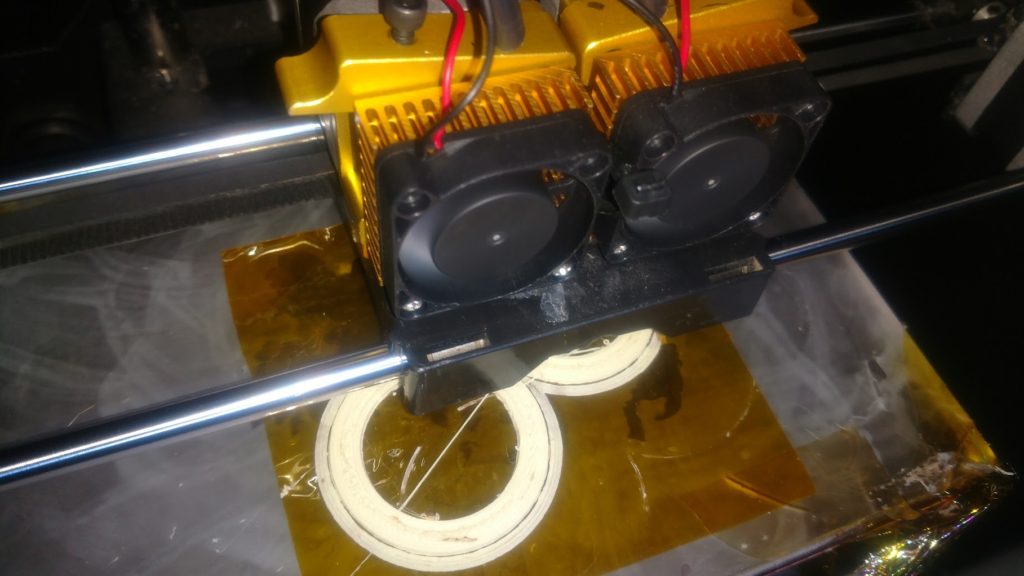
The results, a working printer. Seen here chooching out IGUS Tribo Filament 170-PF for some bushing surfaces for a bicycle project.

