Recently a new car entered the garage, a 1984 Porsche 944 with a lot of loose ends to tidy up. Before even being able to assess the car it needed a few things to even make it road worthy, number one on that list was to seal the cabin from excess fumes. The 944 like a lot of 80’s cars by now is experiencing a rather drafty cabin. Unfortunately the wonderful shape of the 944 also means much of the exhaust fumes, or engines smells tend to want to work their way through either the rear hatch seal, or the shifter boot, especially when a window or sunroof is cracked creating a vacuum on the cabin. One simple way to check to see if you have a leak is to drive at highway speeds close all windows and sunroof and place your hand next to the shifter or back by the hatch seal while cracking the window. Put some water on your hand to make it more sensitive to feeling the wind.
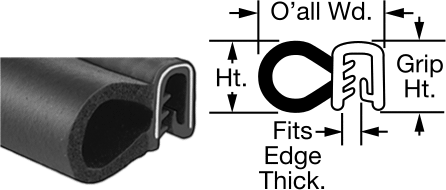
The rear hatch seal is a simple fix, buy a new one clean up the edge which the seal is attached and install a fresh seal making sure to not cut it too short and maybe apply some rubber cement/seam seal where the ends meet. If OEM seals are expensive checkout mcmaster carr bulb seal part number 12335a16.
If you are still experiencing a draft from the rear of the car even after a hatch seal, check your hatches pins to make sure they are adjusted properly and creating a nice seal on the hatch. If the seal is good and you are still experiencing fumes, checkout the tail light seals.
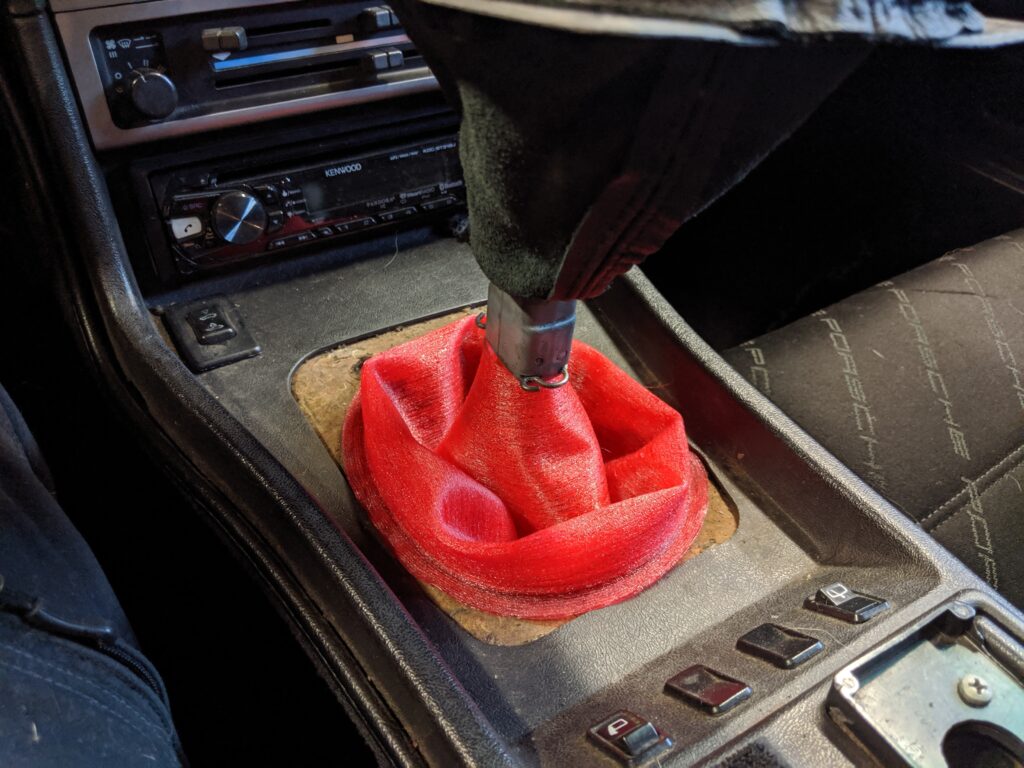
Ok so what to do about the shift boot. A new unit from ebay is around $50 give or take but I was in a bind and wanted to get on the road. I took the stock boot which looked like an old shredded garment and modeled it in 3d including a small thick area at the edge where it catches the sheet metal lip on the cars trans tunnel.
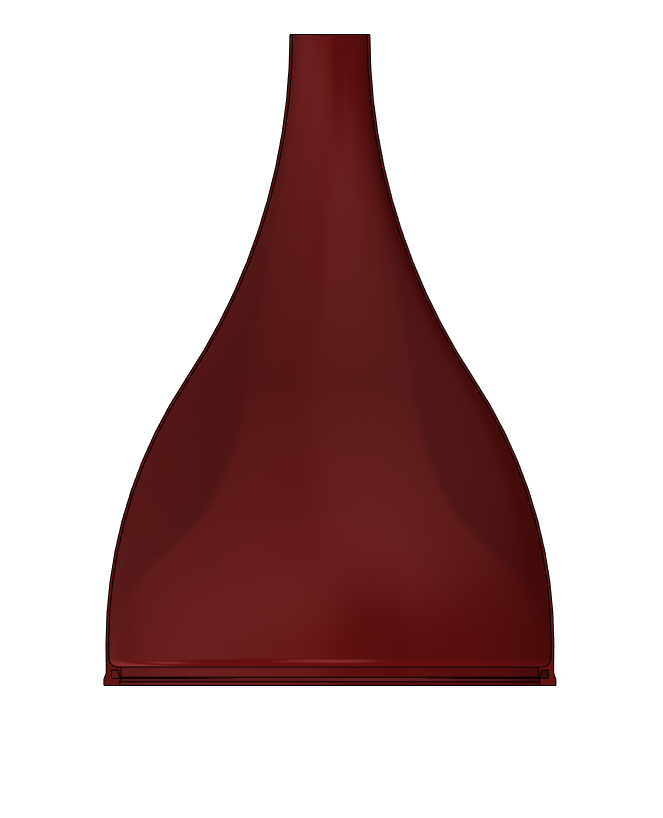
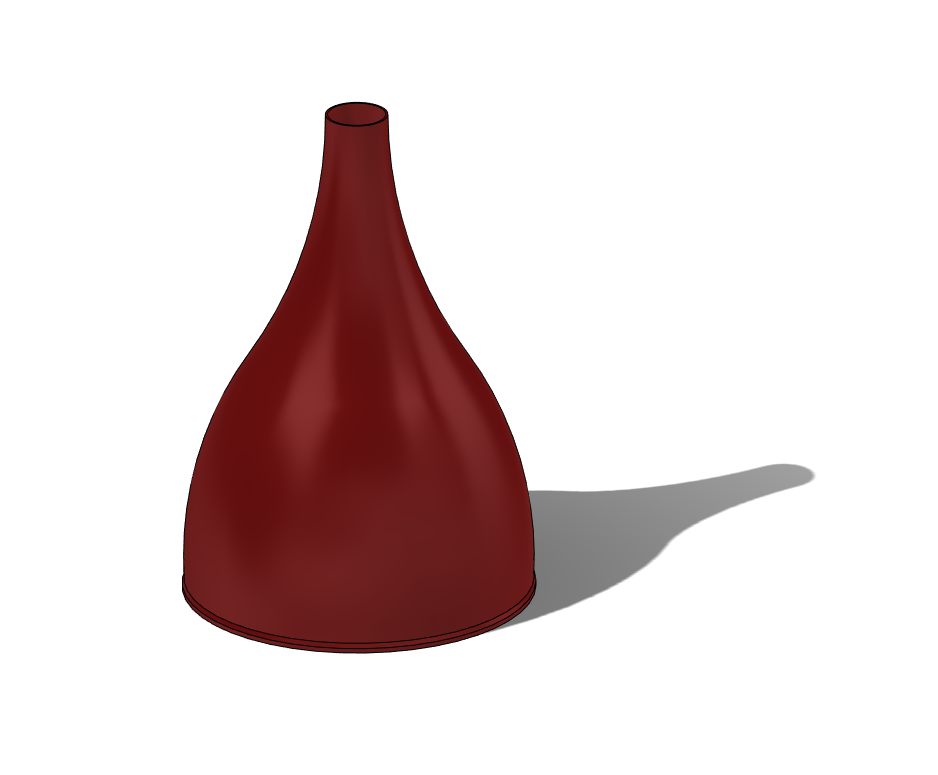
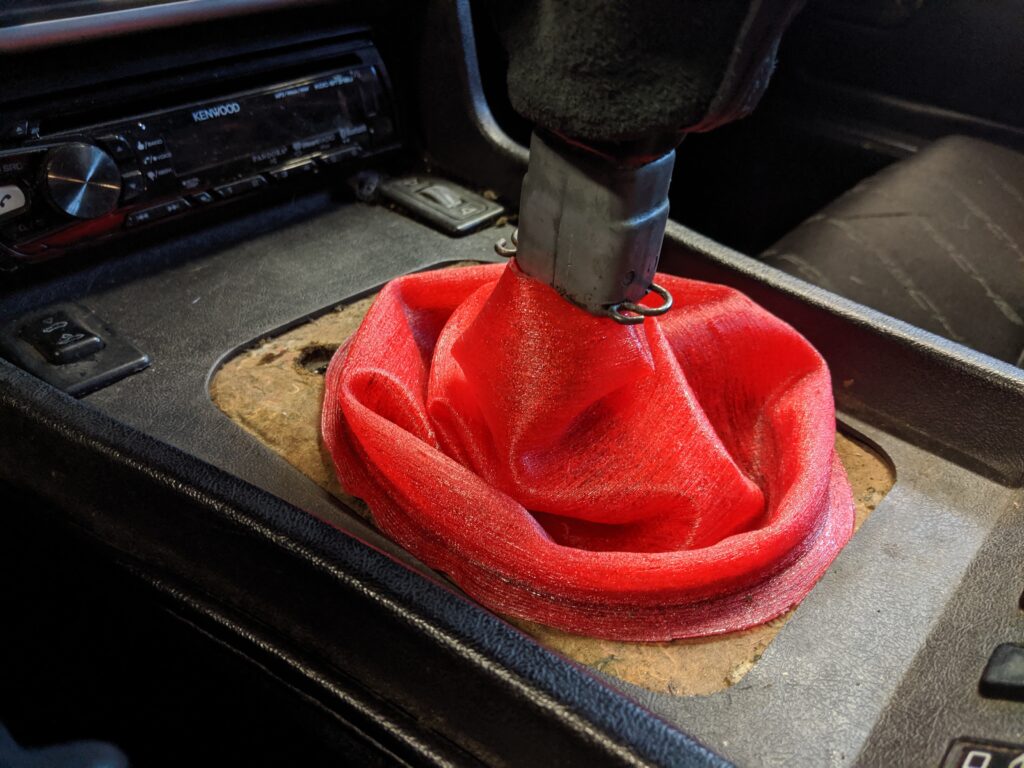
The 3d model is drawn with a small curve transitioning inward then tangent to the shifter… this creates excess material allowing bunching and an easier fit. The model is made slightly small assuming the use of EPDM or TPE materials with a great degree of stretch, but I only had TPU in stock so I scaled the part to 105% and printed it out of TPU. The TPU ended up slightly large so it may work at 100% scale. Note the void and thin wall on the ID of the boot, this is meant to be cut with a razor after printing to allow it to grab on the edge of the tunnel, except it worked better to just use a zip tie around this edge rather than duplicating the stock boots edge seal.
I chose a Red TPU and printed at 20mm/sec at a temp of 240f using settings similar to PETG. The TPU is a harder durometer which is not prefered but it is what I had. Upon installing it was clear the boot was about 1in too long and required trimming. It also is not a very stretchy material so you must force it to fold into itself and leave room for the leather to fit nicely. After installing use a zip tie around the edge to make sure its sealed well to the tunnel. If you need to stretch the top of the boot over the shift knobs base try a needle nose in reverse to expand the ID to fit over the shift lever.